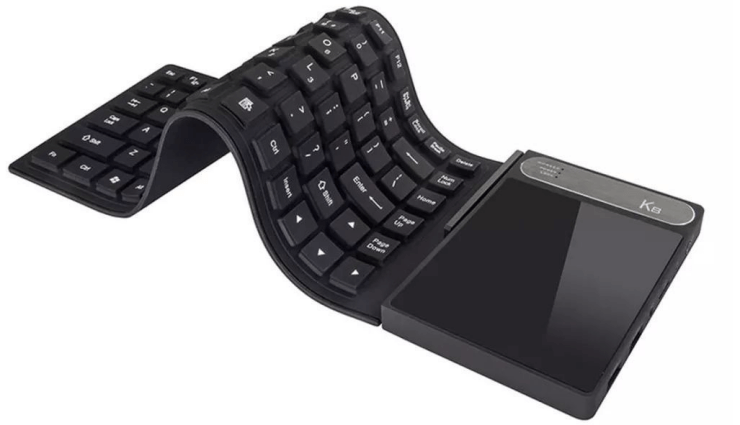
How to clean your keyboard
Apr. 09, 2023 / Updated by Renata to Windows 10

A computer keyboard is an essential peripheral device for desktop and laptop computers.With regular use, these keyboards can accumulate dust, dirt, and debris, which can make them look unappealing and hamper their performance. If you want to keep your computer keyboard in good working condition and extend its lifespan, you need to perform regular cleaning. In this article, we will discuss the step-by-step process of cleaning a computer keyboard.
Step 1: Unplug the Keyboard and Turn it Upside Down.
Before you begin the cleaning process, make sure that the keyboard is unplugged from the computer. Once you have done that, turn the keyboard upside down over a trash can or a piece of cloth. This will allow any loose debris or particles to fall out of the keyboard.
Step 2: Shake the Keyboard.
Once the keyboard is turned upside down, give it a few gentle shakes to dislodge any larger particles or debris. You can also use a can of compressed air to blow out any stubborn debris that may be stuck in between the keys.
Step 3: Clean the Keys.
The keys on the keyboard are where most of the dirt, dust, and debris tend to accumulate. To clean the keys, dampen a microfiber cloth with a small amount of rubbing alcohol or a cleaning solution specifically designed for keyboards. Make sure not to get the cloth too wet, as moisture can damage the keyboard’s circuitry.
Gently wipe each key with the damp cloth, making sure to remove any stubborn dirt or stains. Be sure to clean both the tops and sides of the keys. You can also use a cotton swab dipped in rubbing alcohol to clean hard-to-reach areas around the keys.
Step 4: Clean the Spaces Between the Keys.
The spaces between the keys are another area where dirt and debris tend to accumulate. To clean these spaces, you can use a small brush or a can of compressed air. If you’re using a brush, make sure it’s soft-bristled to avoid damaging the keyboard. Starting from the top left corner of the keyboard, brush or blow out any debris from the spaces between the keys. Work your way across each row of keys until you’ve cleared all the spaces.
Step 5: Wipe the Keyboard Surface.
Once you’ve cleaned the keys and spaces between them, wipe down the entire surface of the keyboard with a microfiber cloth. This will remove any remaining dirt or dust from the keyboard’s surface.
Step 6: Clean the Keyboard Feet.
The feet or risers on the bottom of the keyboard can also collect dirt and debris. To clean them, dampen a cloth with rubbing alcohol, and gently wipe the feet to remove any dirt or debris that may have accumulated.
Step 7: Dry the Keyboard.
After you’ve completed the cleaning process, leave the keyboard to air dry for a few hours. Avoid using the keyboard until it’s completely dry, as moisture can damage the keyboard’s circuitry.
Step 8: Reconnect the Keyboard.
Once the keyboard is dry, reconnect it to the computer and test it out to ensure that it’s working correctly. If you notice any issues, repeat the cleaning process to remove any dirt or debris that may be affecting the keyboard’s performance.
In conclusion, a clean computer keyboard not only looks better, but it also functions better. Performing regular cleaning and maintenance can help extend the lifespan of your keyboard and ensure that it performs at its best. By following the step-by-step process outlined in this article, you can keep your keyboard clean and in good working condition for years to come.
more keyboard maintaining method:
Fix Keyboard Typing Delay/Lag on Windows

|
ExplorerMax |

|
Driver Talent for Network Card | |
| Smart and advanced file explorer tool for Windows platforms | Download & Install Network Drivers without Internet Connection | |||
| 30-day Free Trial | Free Download |


