Computer Turns On But No Signal to Monitor-7 Effective Solutions
Aug. 01, 2023 / Updated by Eloise to Windows 10
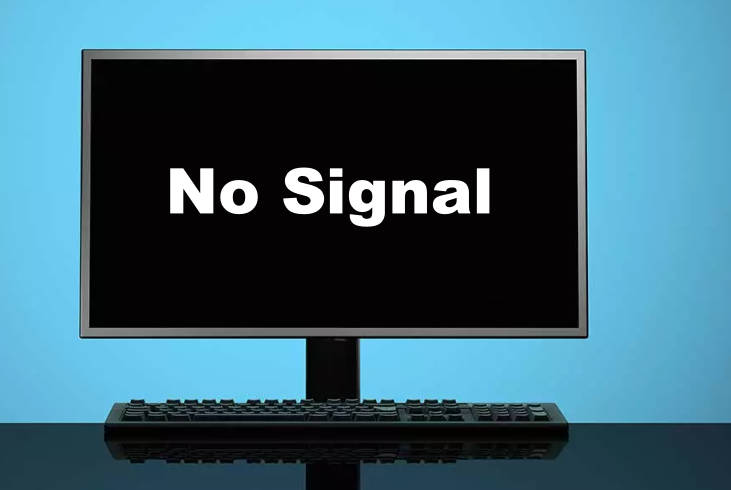 Computer is working but it isn’t sending out a signal to monitor? The display won’t turn on after booting the computer? When you have tons of work to deal with, you are probably itching to get your monitor back to normal. If you are also struggling with monitor saying no signal issue, don't rush to change the monitor. There are many factors responsible for monitor no signal, Let's first understand the reasons and then get the right solution.
Why Does My Monitor Show No Signal?
The no signal error appears when your monitor is on but isn’t detecting a signal from the connected device. This means that your monitor is not receiving any video output from your computer. There are several possible causes for this issue, such as:
Loose or faulty cables: If the cable that connects your monitor and your computer is not properly plugged in or damaged, it can prevent the signal from being transmitted.
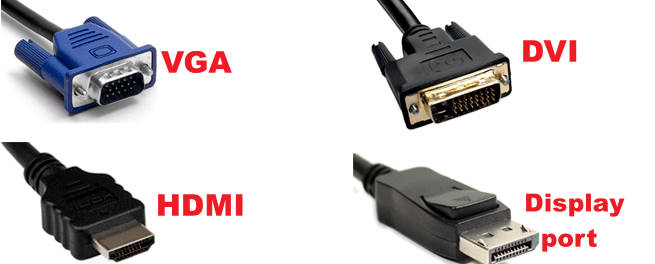
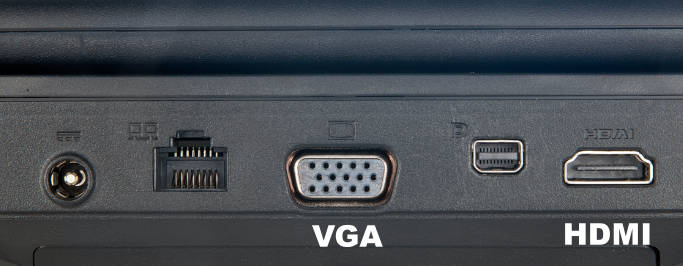
Wrong input source: If your monitor has multiple input sources, such as HDMI, VGA, or DVI, you need to make sure that it is set to the correct one that matches your computer’s output port.
Outdated graphics driver: If your graphics card driver is outdated or corrupted, it can affect the performance and compatibility of your video output.
Hardware issues: If your monitor, graphics card, power supply, or motherboard is faulty or incompatible, it can also cause the no signal error.
How to Fix PC No Signal to Monitor Issue?
1. Check if the cables are well connected
The first thing you should do is to check if the cables that connect your monitor and your computer are well connected. Make sure that they are firmly inserted into the right ports and not loose or wobbly. You should also inspect the cables for any signs of damage, such as fraying, bending, or nicks. If you find any problems with the cables, you should replace them with new ones.
Step 1: Turn off your computer and your monitor and unplug the power cord from both devices.
Step 2: Unplug the video cable from both devices. The video cable may be HDMI, VGA, DVI, or another type depending on your devices.
Step 3: Examine the cable for any damage or dirt. If you see any, use a soft cloth to gently clean it or get a new cable.
Step 4: Examine the ports on both devices for any damage or dirt. If you see any, use a soft cloth to gently clean it.
Step 5: Plug the video cable back into both devices. Make sure that it is securely inserted into the right port and matches the port type.
Step 6: Plug the power cord back into both devices and turn on your computer to see if your monitor is on display.
2. Check if the monitor is set to right input source
The next thing you should do is to check if your monitor is set to the right input source. Most monitors have buttons or menus that allow you to switch between different input sources, such as HDMI, VGA, or DVI. You need to make sure that your monitor is set to the same input source as your computer’s output port. For example, if your computer uses an HDMI port, you need to set your monitor to HDMI as well.
Step 1: Turn on your computer and your monitor.
Step 2: Look for a button or menu on your monitor that lets you change the input source. It may be labeled as Input, Source, Menu, or something else depending on your monitor model.
Step 3: Press the button or menu and look for a list of input sources on your monitor screen. It may show HDMI, VGA, DVI, or other types depending on your monitor model.
Step 4: Select the input source that matches your computer’s output port. Wait for a few seconds and see if your monitor shows any signal from your computer.
3. Test with other monitor device
If you have another monitor device available, you can test if the problem is with your monitor or your computer. To do this, you need to connect your computer to another monitor using the same cable and input source. If the other monitor works fine, then it means that your original monitor is faulty or incompatible and needs to be repaired or replaced. If the other monitor also shows no signal, then it means that the problem is with your computer and you need to try other methods.
4. Check if the graphics card is loose
Another possible cause for the no signal issue is a loose graphics card. If your graphics card is not properly seated in its slot on the motherboard, it can affect its connection and functionality. To check if this is the case, you need to open your computer case and locate your graphics card. You need to make sure that it is securely attached to its slot and that there are no loose screws or wires. There should be no gaps or wiggles between the card and the slot. Check if there are any loose screws or wires around the graphics card.
5. Manually reset your monitor
Step 1: Turn off your monitor and unplug it from the power source.
Step 2: Press and hold the power button on your monitor for about 10 seconds.
Step 3: Release the power button and wait for a few seconds. Then plug in your monitor and turn it on again.
6. Reset computer’s CMOS
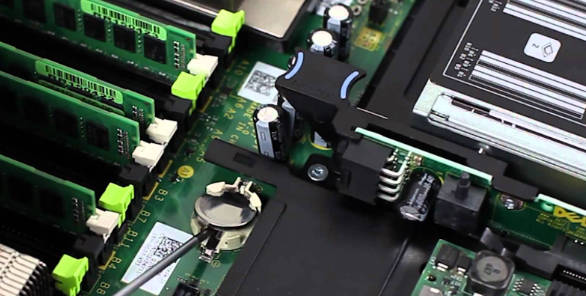
The last resort you can try is to reset your computer’s CMOS, which stores some basic settings for your computer, such as date and time, boot order, and hardware configuration. Sometimes, resetting the CMOS can help fix the no signal issue by clearing any incorrect or corrupted settings. To reset your CMOS, you need to open your computer case and locate the CMOS battery, which is a small round silver battery on your motherboard. You need to remove the battery and wait for about 10 minutes. Then, put the battery back in place and restart your computer.
Update Outdated Graphics Drivers to Fix Monitor No Signal Error
If you've followed the above instructions to get your display restored, it is important to update your graphics card drivers to the latest version. Graphics driver plays an essential role in communicating graphics card with display video output on your monitor. If your graphics driver is outdated or corrupted, it can cause compatibility and performance issues with your video output.
But how to find the right driver for your graphics card model and operating system? If you install a wrong or incompatible driver, you may end up with more problems than before. That’s why we recommend using Driver Talent, a professional and easy-to-use driver updater tool that can automatically scan your PC for outdated, missing, or faulty drivers and download and install the best-matched drivers for your hardware and devices. With driver talent, you don’t need to worry about finding the right driver or making mistakes during the installation. You can update your graphics driver with just a few clicks and fix the monitor error in minutes.
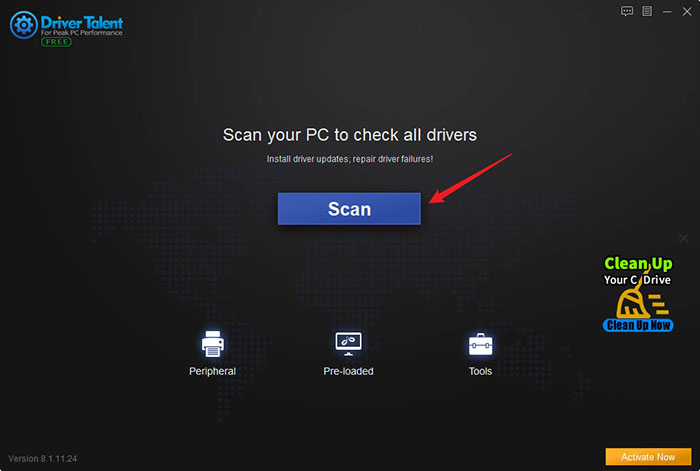
Step 1: Launch driver talent and click on Scan to detect all the problematic drivers on your PC.
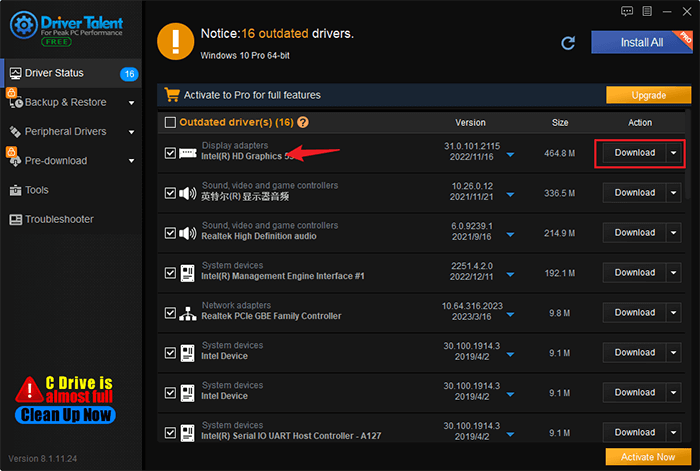
Step 2: Click on Update next to your graphics card driver to download and install the latest version of the driver.
Step 3: Restart your PC to apply the changes.
You may also like

|
ExplorerMax |

|
Driver Talent for Network Card | |
| Smart and advanced file explorer tool for Windows platforms | Download & Install Network Drivers without Internet Connection | |||
| 30-day Free Trial | Free Download |


