Before using the Epson L220 or L360 printer, correctly installing the driver is a crucial step to ensure the printer functions properly. This article provides detailed instructions on how to download and install the Epson L220 and L360 drivers, along with solutions to common issues, helping you complete the installation with ease.
1. Why Install Epson Printer Drivers?
Epson printer drivers serve as a communication bridge between your computer and the printer. Without the correct driver, your PC won't be able to recognize or control the printer, which can lead to printing or scanning failures. Therefore, installing the correct driver for your specific model is the first step in using your printer.
2. Use a Driver Management Tool
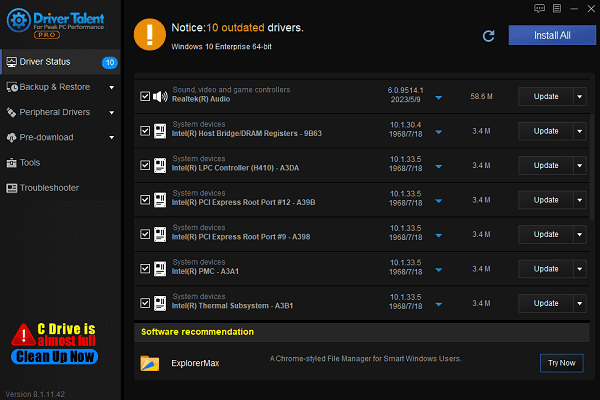
If you're unsure of your printer model or not familiar with manual driver installation, it's recommended to use a driver management tool like Driver Talent. This helps save time and avoids the risk of downloading or installing incorrect drivers.
Click the download button to get the latest version of Driver Talent, install and launch the software, then click "Scan".
After the scan completes, it will display a list of missing or outdated drivers. Find the one that needs updating and click "Install" or "Update".

Once the installation is complete, it's recommended to restart your computer to ensure the new driver takes effect.
3. Manually Download from the Official Epson Website
Download the Driver:
Open a web browser and go to the official Epson website.
Navigate to "Support" > "Printer".

Enter your printer model (e.g., "Epson L220" or "L360") in the search bar and click search.
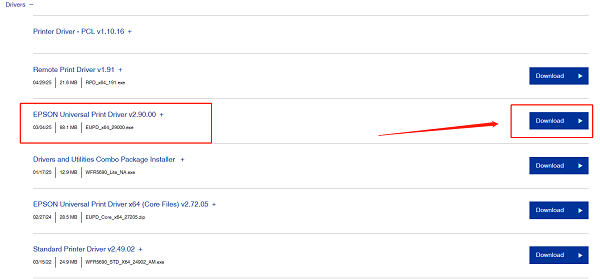
Select your operating system (e.g., Windows 11, 10, or 8) and click "Download" next to the appropriate driver.
Install the Driver:
Double-click the downloaded file to launch the installer. Click "Next" to proceed.
Read the Epson User License Agreement, check "I Agree", and click "Next".
Connect the Printer:
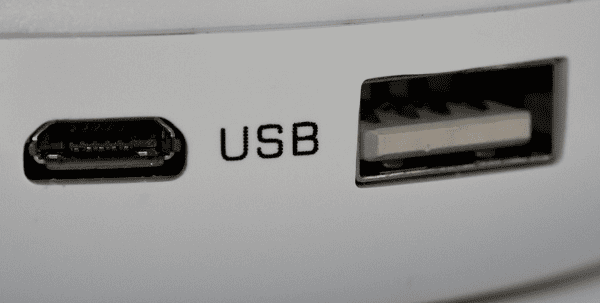
Follow the on-screen prompts to connect your Epson L220 or L360 printer via USB.
For network models, you can also choose to connect via Wi-Fi.
Complete the Installation:
The installation usually takes a few minutes. Once completed, the system will display a "Driver installed successfully" message.
At this point, you can try printing a test page.
4. Common Installation Issues and Solutions
Q1. Printer not recognized after installation?
Check if the USB connection is secure.
Try switching to a different USB port or cable.

Make sure the "Print Spooler" service is enabled in Windows.
Q2. Cannot find a driver for your operating system?
Try downloading older versions or universal drivers from the Epson website.

You may also attempt a compatibility mode installation if needed.
Q3. Missing print or scan functions?
Make sure you've installed the full-featured driver, not just the basic print driver.
Restart your system or try reinstalling the driver using Driver Talent.
The Epson L220 and L360 are popular multifunction inkjet printers. However, if the drivers are not installed correctly, the device will not function properly. By following the download and installation steps provided in this guide, you can easily complete the driver setup and quickly start printing and scanning.
See also:
[Fixed] SM Bus Controller Driver Issues in Windows
Ways to fix Clair Obscur: Expedition 33 Fatal Error
[Solved] NVIDIA Driver Keeps Crashing on Windows 10


