Epson LQ-1310 is a high-efficiency, stable dot matrix printer widely used in business and financial sectors. To ensure it works properly on Windows systems, it is crucial to install the correct printer driver.
This article provides a step-by-step guide on downloading and installing the driver, along with solutions to common issues to help you use the printer smoothly.
1. Why Do You Need to Install the Epson LQ-1310 Driver?
The driver serves as a bridge between the printer and your computer. Without it, the system may not recognize the Epson LQ-1310, resulting in printing failures or limited functionality. Installing the latest driver ensures:
Print jobs are processed and executed properly.
Full support for Windows 10/11 (32-bit and 64-bit).
Improved compatibility with fewer errors or crashes.
Access to the latest features and performance enhancements.
2. How to Download the Epson LQ-1310 Driver
Method 1: Use Driver Talent (Recommended for Beginners)
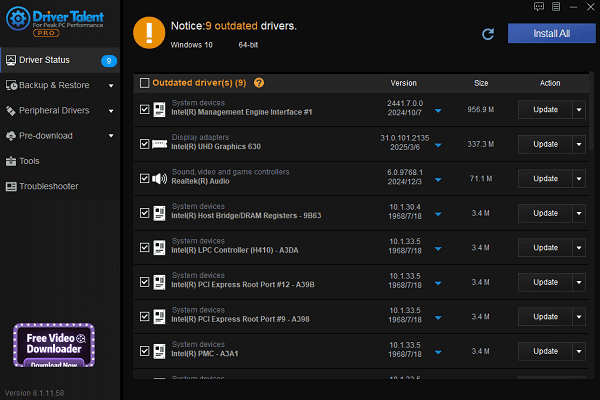
For users unfamiliar with manually downloading and installing drivers, Driver Talent is a helpful tool. It automatically scans your system for missing or problematic drivers and offers one-click repair options.
Download the latest version of Driver Talent and install it. Open the software and click "Scan".
Once the scan is complete, it will list all outdated or missing drivers. Locate the printer driver and click "Update".

After updating, it's recommended to restart your computer to ensure the new driver takes effect.
Method 2: Download from the Official Epson Website
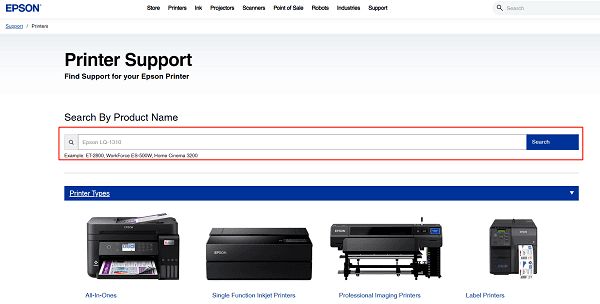
Open your browser and go to the Epson official website.
Navigate to "Support" > "Printers".
In the search bar, enter "Epson LQ-1310" and click "Search".

On the driver download page, select the version that matches your operating system.
Click "Download" and save the driver package to your local drive.
3. Driver Installation Steps
After downloading the driver, follow these steps:
Double-click the downloaded file to start the installation.
Accept the license agreement.
Choose the connection type (USB or parallel port).
The system will automatically detect the printer and complete the installation.
Restart your computer if prompted.
4. Common Issues and Solutions
Issue 1: Printer Not Recognized by the System
Solution: Check if the USB or parallel cable is properly connected. Also, make sure the driver matches your Windows version. It's best to use a USB 2.0 port for compatibility.
Issue 2: Unable to Print After Installing the Driver
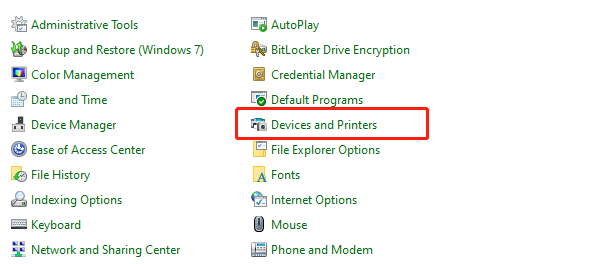
Solution: Go to Control Panel > Devices and Printers, and ensure the Epson LQ-1310 is set as the default printer. Try restarting your computer as well.

Issue 3: Driver Not Compatible with Windows 11
Solution: Use a universal Epson LQ series driver, or try installing the driver in compatibility mode.
5. Usage Tips and Important Notes
Run Driver Talent regularly to check for driver updates.
Disable antivirus software before installation to avoid interference.
If installation fails, try right-clicking the installer and choosing "Run as administrator".
Proper installation of the Epson LQ-1310 printer driver is key to ensuring smooth and efficient printing. Be sure to download the correct driver for your system.
If you encounter issues, refer to the solutions provided in this guide. Install the best driver for your LQ-1310 and enjoy reliable, trouble-free printing!
See also:
Getting Error Code 0x80070035 on Windows? How to Fix It
Tips to Improve PC Performance for Gaming (Windows 10/11)
How to Fix Logitech K780 Keyboard Not Pairing on Windows


