
When the Novo button on your Lenovo laptop is missing, damaged, or unresponsive, performing a factory reset may seem difficult. Fortunately, Lenovo provides multiple alternative methods to restore your laptop to factory settings—even without using the Novo button. This guide covers every working method, whether you can still access Windows, your system is corrupted, or your laptop will not boot at all.
Method 1: Factory Reset from Windows Settings
If you can log in to Windows, this is the easiest way to reset the laptop without the Novo button.
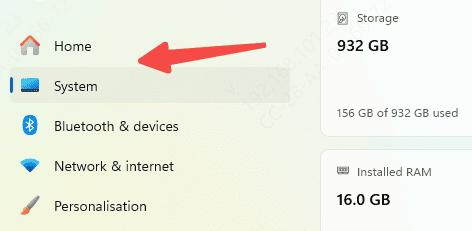
Open Settings
Go to System > Recovery
Under Recovery options, click Reset this PC
Choose one of the options
Keep my files – Keeps personal files but removes apps and settings
Remove everything – Completely wipes the system
Select Cloud download or Local reinstall
Follow the on-screen instructions to complete the reset
This method reinstalls Windows without requiring the Novo button or recovery partition.
Method 2: Reset from Advanced Startup
On the login screen, hold Shift and click Restart.
The laptop will boot into Advanced Startup
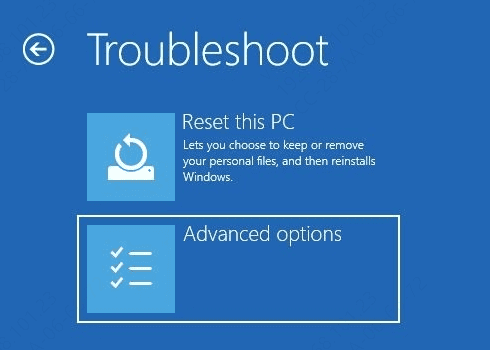
Choose Troubleshoot
Click Reset this PC
Select Keep my files or Remove everything
Follow the reset instructions
This method works even if your password is forgotten or Windows is unresponsive.
Method 3: Use F11 to Enter Lenovo Recovery Mode
Many Lenovo models support entering the recovery environment using the F11 key instead of the Novo button.
Turn off the laptop completely
Turn it on and repeatedly press F11
When the Recovery Environment appears, choose Troubleshoot → Reset this PC
Select your preferred reset option
If F11 does not work: Try pressing Shift + F11 or Try tapping Fn + F11
Confirm that the recovery partition still exists
Method 4: Use a Bootable Windows USB Recovery Drive
If the system is severely corrupted or F11 does not work, you can reset the laptop using a recovery USB.
On another PC, download the Windows 10/11 Media Creation Tool from Microsoft
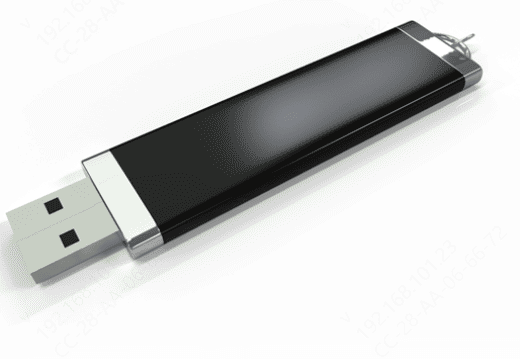
Create a bootable USB recovery drive
Insert the USB into the Lenovo laptop
Boot the laptop and press F12, Enter, or ESC to open the Boot Menu
Select the USB drive
Choose Repair your computer > Troubleshoot > Reset this PC
Complete the reset process
This is the best method when the recovery partition is damaged or missing.
Update Drivers after Reset
After completing a factory reset, you may encounter issues caused by outdated, missing, or incompatible drivers. If your Lenovo laptop isn't functioning normally or certain hardware components aren't working as expected, updating your system drivers is essential to restore full performance.
Download and Install Driver Talent X
Click the Download button to obtain the Driver Talent X installation file. Once the file finishes downloading, open it and follow the on-screen instructions to complete the installation process.
Run a System Scan
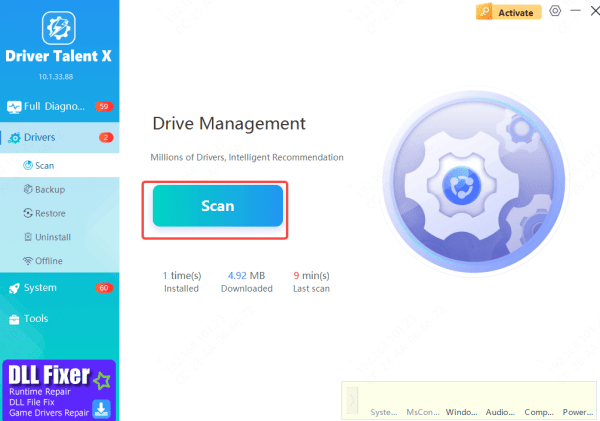
After installing the program, launch Driver Talent X and go to the Drivers section. Select Scan to allow the tool to examine your system and identify any missing or outdated drivers.
Update Drivers
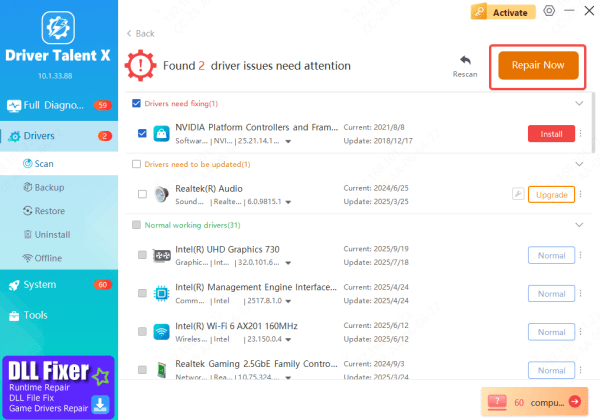
When the scan is finished, a list of drivers requiring updates will be displayed. Select the drivers you want to update, then click Upgrade or Repair Now to start the update process.
Restart Your Computer
Once all updates have been applied, restart your computer to ensure the newly installed drivers are fully loaded and working correctly.
Conclusion
Factory resetting a Lenovo laptop without the Novo button is completely achievable using alternative methods like Windows Settings, Advanced Startup, F11 recovery mode, or a bootable USB drive. After the reset, make sure to update your drivers to restore full hardware functionality and ensure smooth system performance. By following the steps in this guide, you can quickly reset your device and get it back to a stable, fully functional state.


