
When using NVIDIA GeForce Experience to manage and update drivers, you might face download failures. This article offers effective solutions to resolve these issues.
1. Automatically Update NVIDIA Drivers
If GeForce Experience isn't working properly, you can use driver management software to download and update drivers. We recommend using Driver Talent for automatic detection and updating, which saves time and effort while avoiding the risks of downloading or installing incorrect drivers.
Click the download button to get the latest version of Driver Talent. Once installed, open the software and click "Scan".
After scanning, a list of drivers that are not installed or need updating will appear. Find the NVIDIA graphics driver in the results and click the "Download" button.
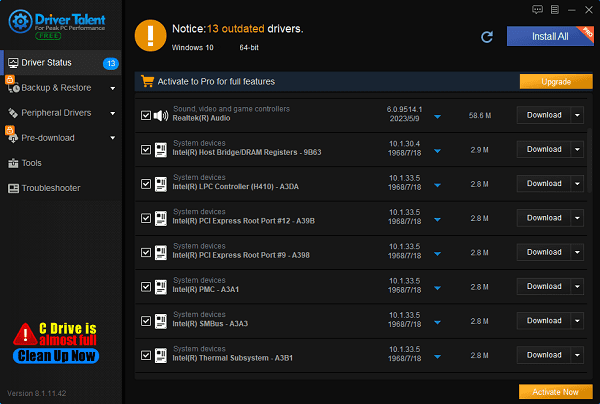
Once the update is complete, it's recommended to restart your computer to ensure the updated drivers are properly applied.
2. Clear Download Cache
Open GeForce Experience.
Click the "Settings" icon in the top right corner.
In the "General" tab, find and click "Clear Download Cache".
Close and restart GeForce Experience.
Try downloading the driver again.
3. Allow GeForce Experience Through Windows Firewall
Open the "Control Panel" and select "System and Security".
Click on "Windows Defender Firewall".
Choose "Allow an app or feature through Windows Defender Firewall".
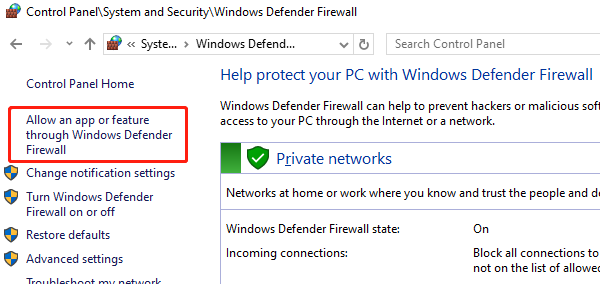
Look for "GeForce Experience" and ensure it is checked for both "Private" and "Public" networks.
If it's not listed, click "Change settings" > "Allow another app", then browse to add GeForce Experience.
Save changes and close the window.
4. Update GeForce Experience
Open GeForce Experience.
Click the "Check for Updates" button in the top right corner.
If a new version is available, follow the prompts to download and install it.
After the update is complete, restart GeForce Experience and try downloading the driver again.
5. Check System Settings and Permissions
Right-click the GeForce Experience icon and select "Run as Administrator".
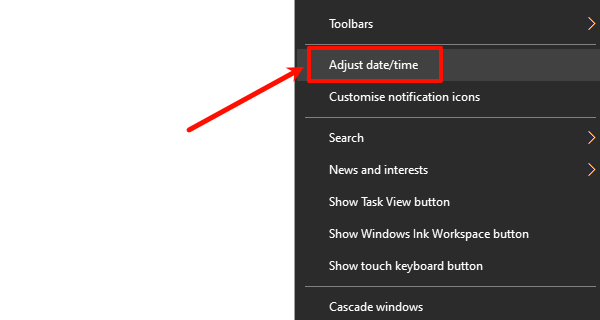
Right-click on the system time and select "Adjust date/time" to ensure your date and time settings are correct.
Type "Services" in the Windows search bar and open the "Services" window.
Locate all NVIDIA-related services and ensure their status is "Running".
6. Reinstall GeForce Experience
Open the "Control Panel" and select "Programs and Features".
Find "GeForce Experience", right-click it, and select "Uninstall".
Visit the NVIDIA website to download the latest version of GeForce Experience.
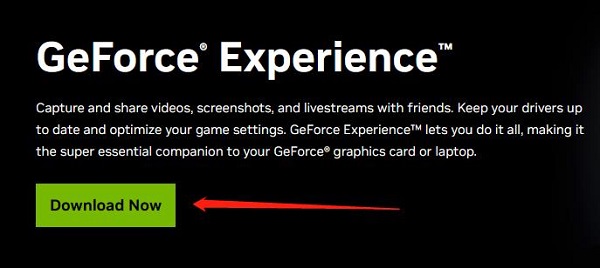
Download and run the installer, and follow the on-screen instructions to complete the installation.
After the installation is complete, restart your computer and try downloading the driver again.
7. Check NVIDIA Server Status
Visit the NVIDIA website or other related support pages to see if there are any server maintenance or downtime notices.
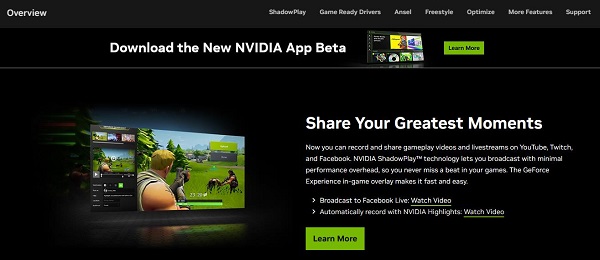
Check NVIDIA's social media platforms to see if other users are reporting similar issues.
If a server issue is confirmed, please be patient and wait for NVIDIA to resolve it.
By following these steps, you should resolve the GeForce Experience driver download failure. Restart your computer after making changes or installing drivers to ensure they work. If the issue continues, contact NVIDIA customer support for help.
See also:
3 Ways to download Realtek HD Audio Manager for Windows 10
Guide to Fixing Ethernet Issues on Windows 10
6 Solutions to Fix the "Failed to Play Test Tone" Error


