Sometimes, a mouse may suddenly stop working, causing significant inconvenience. This article provides effective solutions to help you quickly resolve this issue.
1. Update Drivers
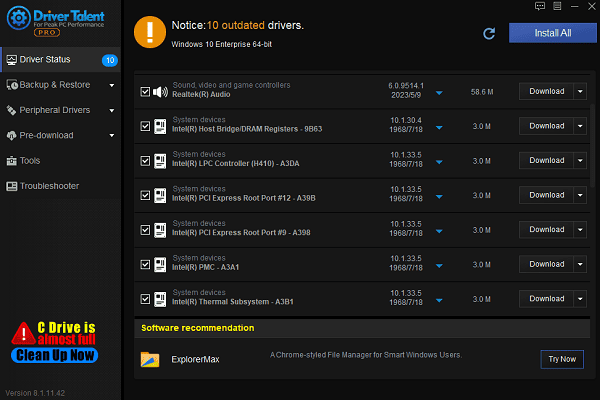
Outdated or corrupted drivers can often cause the mouse to stop working unexpectedly. Checking and updating your drivers is an essential step in addressing the issue. Using Driver Talent to automatically detect and update drivers can save time and help avoid downloading or installing incorrect drivers.
Download the latest version of Driver Talent, install it, and open the software. Click "Scan".
After scanning, the software will list any missing or outdated drivers. Locate the mouse driver in the results and click "Download".

Once updated, restart your computer to ensure the new driver is fully operational.
2. Check Hardware Connections
For Wired mouse:
Ensure the mouse's USB plug is securely connected to the computer.
If the mouse is unresponsive, try using a different USB port, especially if the current port is loose or damaged.
Test the mouse on another computer to confirm if the issue is with the mouse itself.
For Wireless mouse:
Check if the battery is drained and replace it if necessary.
Ensure the wireless receiver is securely inserted into the USB port.
Press the pairing button on the mouse to reestablish a connection with the receiver.
Check for Physical Damage:
For wired mouse, inspect the cable for any signs of damage, such as fraying or bending.
If you notice any physical damage, consider replacing the mouse.
3. Reset Mouse Settings
Press Win + I to open the "Settings" menu.
Navigate to "Devices > Mouse".
Click "Additional mouse options" on the right.
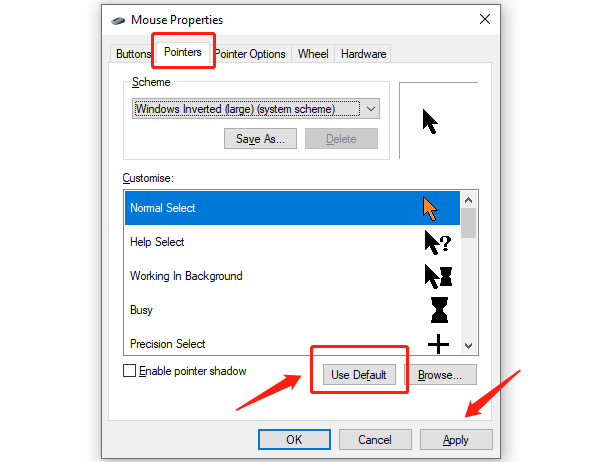
In the Mouse Properties window, go to the "Pointers" tab.
Click "Use Default" and then "OK" to save the settings.

Check if the mouse is working properly. If not, proceed to the next step.
4. Run Hardware Troubleshooter
Press Win + S and type "cmd".
In the search results, right-click "Command Prompt" and select "Run as Administrator".
Enter the following command and press Enter: msdt.exe -id DeviceDiagnostic
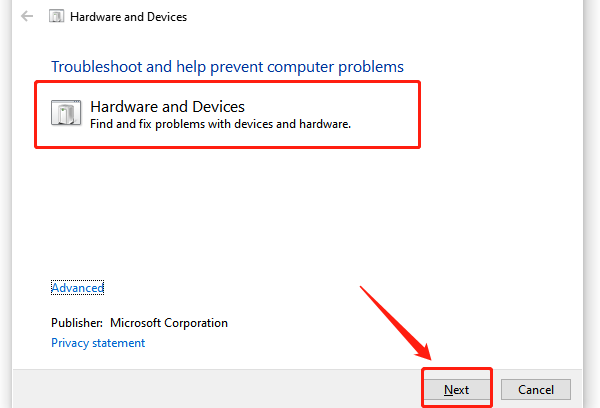
The Hardware and Devices Troubleshooter window will open.

Click "Next" to begin the detection process. The system will automatically scan for device issues.
Follow the on-screen prompts to complete the troubleshooting process.
If any problems are found, choose Apply this fix to resolve them.
5. Clean the Mouse
For wireless mouse, turn off the mouse power; for wired mouse, unplug the USB connector.
Flip the mouse over and locate the optical sensor on the bottom.
Gently clean the sensor with a lint-free cloth or cotton swab to avoid scratches.
Use a soft, dry brush to remove dust around the buttons and scroll wheel.
If the scroll wheel is stuck, try using compressed air to clean its internal components.
After cleaning, reconnect the mouse and check if it works properly.
6. Scan for Malware or Viruses
Press Win + S, search for "Windows Security", and open it.
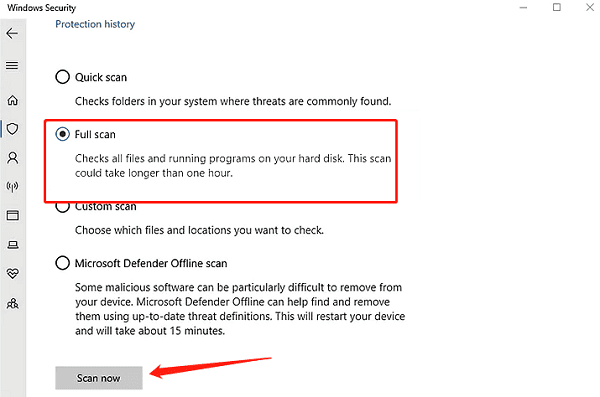
Go to the "Virus & Threat Protection" section and click "Quick Scan".
If no issues are found, click "Scan Options" and select "Full Scan" to check for deeper threats.

Follow the prompts to remove or quarantine any detected malware.
Restart your computer to finalize the cleanup.
7. Update the Operating System
Press Win + I to open "Settings > Update & Security > Windows Update".
Click "Check for Updates" to search for available system updates.
If updates are found, click "Install Now".
After the update is complete, restart your computer.
Check if the mouse is functioning correctly after the update.
By following these steps, you can resolve common mouse issues. If the problem persists, consider replacing the mouse or seeking technical support.
See also:
Solution for High CPU Usage by Windows Driver Foundation
How to Fix Windows 10 Disk Management Not Working
Guide to Fixing WiFi Adapter Driver Issues


