If you're experiencing stuttering video playback, game performance drops, or general screen flickering on your Windows PC, the first place to look is your Intel Graphics Driver. Keeping this driver updated is crucial for getting the best performance, stability, and security from your integrated Intel GPU.
This guide will walk you through the most effective methods to update your Intel graphics driver, ensuring your system runs smoothly on Windows 10 or 11.
1. The Easiest Method: Update with Driver Talent X
Manually identifying your specific Intel processor generation and finding the exact compatible driver can be a complex and confusing task. Driver Talent X automates this process, making it the fastest and safest way to ensure you get the right driver without the hassle.
Download and Install:
Click the "Download" button to download the software package.
Install it on your Windows PC.
Scan Your System:
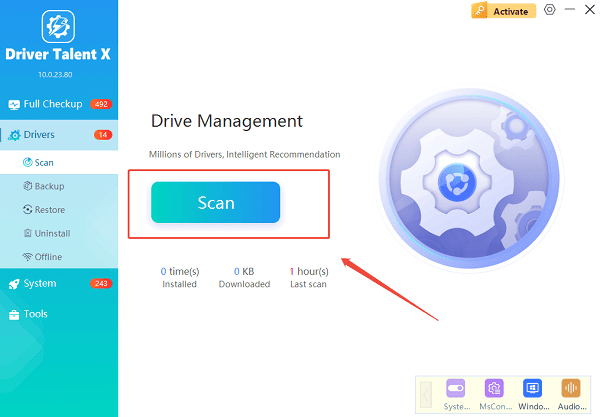
Launch the application. Go to "Drivers" > "Scan", click "Scan".

Driver Talent X will automatically perform a comprehensive scan of your entire system to identify all outdated, missing, or corrupted drivers, including your Intel Graphics Driver.
One-Click Update:
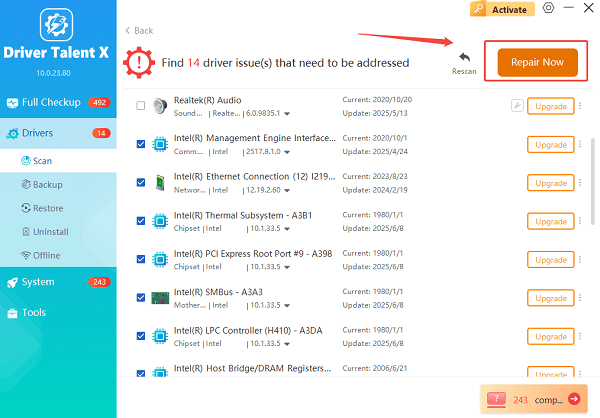
After the scan is complete, the software will display a list of all drivers that need attention.
Simply select the Intel Graphics driver or click the "Repair Now" button.

The tool will automatically download and install the latest, verified version for your specific Intel GPU.
Restart Your PC:
Once the installation is finished, it's crucial to restart your computer to allow the new drivers to take full effect.
2. Manual Methods for Updating Drivers
If you prefer a hands-on approach, Intel and Windows provide official tools to help you manage your driver updates.
Method 1: Use the Intel Driver & Support Assistant (IDSA)
Intel provides a fantastic, free tool specifically for detecting and installing drivers for Intel hardware, including graphics.
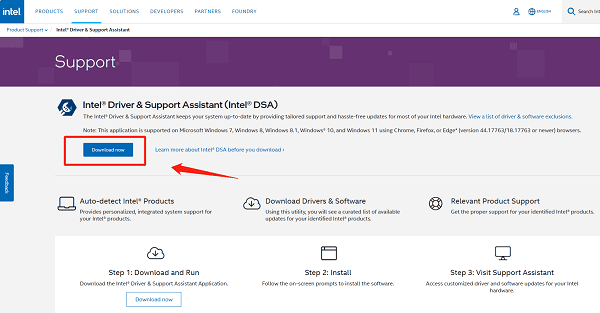
Download IDSA: Go to the official Intel Support website and download the Intel Driver & Support Assistant (IDSA) application.

Install and Run: Install the IDSA tool and run it. It will open a web browser window and automatically scan your PC for Intel hardware.
Find and Install: The tool will list any available updates for your Intel Graphics driver. Click the "Download" or "Install" button next to the graphics driver to begin the automated installation process.
Method 2: Use Device Manager
You can use the built-in Windows Device Manager utility to check for driver updates, though this method often finds older or generic drivers.
Open Device Manager: Right-click the Start button and select "Device Manager" from the menu.
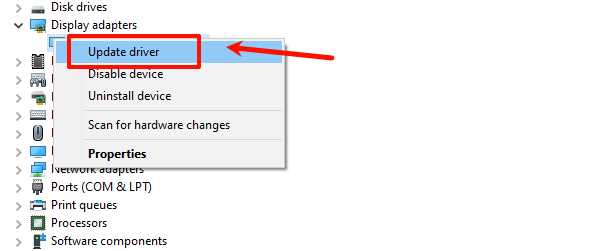
Find the Graphics Card: Expand the "Display adapters" category. You should see your Intel Graphics entry (e.g., "Intel(R) Iris(R) Xe Graphics").
Update the Driver: Right-click on your Intel Graphics entry and select "Update driver".

Search Automatically: Choose "Search automatically for drivers". Windows will search your computer and the internet for an updated driver and install it if found.
Conclusion
Keeping your Intel Graphics Driver updated is a simple yet crucial step for a stable and high-performing computer.
While manual methods using the Intel website or Device Manager work well, using Driver Talent X is the quickest and most reliable way to handle the process.
No matter which method you choose, a fresh driver install will optimize your integrated GPU for better performance and stability.
See also:
Epson LQ-1310 Printer Driver Download Guide
Intenso USB Driver Not Working? How to Fix It
Fuji Xerox DocuPrint CP305d Driver Download Tutorial


