
A stable and fast internet connection is vital for everything you do on your PC, and your Network Drivers (for your Wi-Fi or Ethernet adapter) are the foundation of that connection.
Outdated, corrupted, or incompatible network drivers are the most common cause of Wi-Fi drops, slow speeds, connection failures, and the dreaded "Limited Connectivity" error on Windows 10.
This comprehensive guide provides step-by-step methods to update your network drivers safely and effectively, ensuring maximum speed and stability.
1. The Fastest Method: Use Driver Talent X
Manually updating network drivers involves identifying the exact model of your Wi-Fi or Ethernet card (e.g., Intel Killer, Realtek, Broadcom), visiting the manufacturer's site, and selecting the correct driver package for your specific version of Windows 10.
This can be complex and risks downloading the wrong file. Using a dedicated driver utility is the quickest and safest way to automate this process.
Download and Install:
Click the "Download" button to download the software package.
Install it on your Windows 10 PC.
Scan Your System:
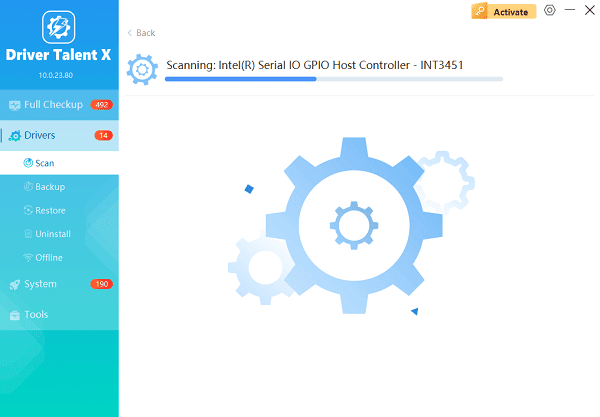
Launch the application. Go to "Drivers" > "Scan", click "Scan".
Driver Talent X will automatically perform a comprehensive scan of your entire system, specifically identifying the latest Network Adapter Driver updates, along with related Chipset Drivers that affect network stability.
One-Click Update:
After the scan is complete, the software will display a list of all drivers that need attention. Simply select the Network Driver entry or click the "Repair Now" button.
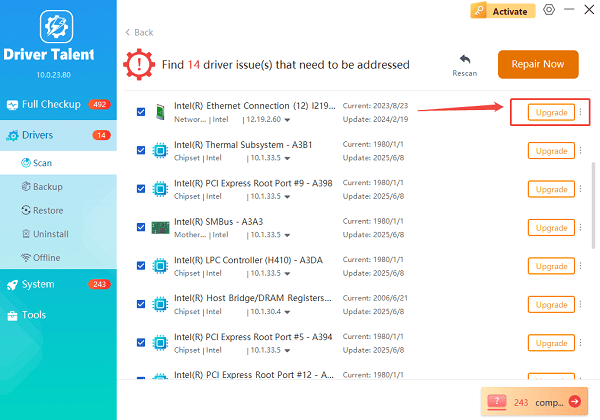
The tool will automatically download and install the latest, verified version for your specific Wi-Fi or Ethernet hardware.
Restart Your PC:
Once the installation is finished, it is crucial to restart your computer.
This allows the new drivers to fully integrate, ensuring your network card can establish and maintain optimal connections.
2. Official Windows and Manufacturer Methods
If you prefer to use built-in Windows tools or original equipment manufacturer (OEM) software, these methods are excellent alternatives.
Method 1: Use the Windows Device Manager
The Device Manager allows you to uninstall the problematic driver and have Windows automatically reinstall a working version.
Open Device Manager: Right-click the Start button and select "Device Manager" from the menu.
Locate Network Adapters: Expand the "Network adapters" category.
Uninstall and Scan: Right-click on your specific Wi-Fi or Ethernet adapter (e.g., "Intel Wireless-AC 9560") and select "Uninstall device". If prompted, do NOT check the box that says "Attempt to remove the driver software for this device".
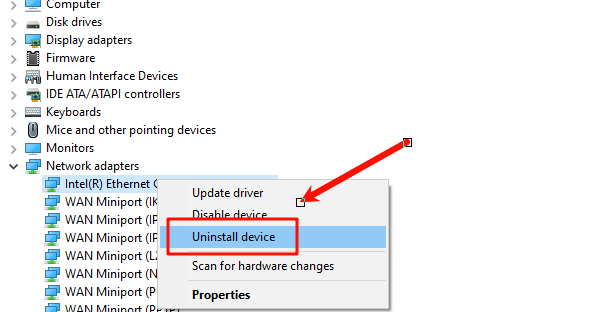
Reinstall: In the Device Manager menu bar, click "Action" and then "Scan for hardware changes". Windows will detect the missing hardware and automatically reinstall a stable, generic driver.
Method 2: Use Manufacturer Support Utilities (For OEM PCs)
If your PC is from a major brand (Dell, HP, Lenovo, ASUS, etc.), they provide specialized software that checks for and installs drivers certified specifically for your laptop or desktop model.
Dell: Use Dell SupportAssist.
HP: Use HP Support Assistant.
Lenovo: Use Lenovo Vantage.
Custom PC: If you built your PC, visit your motherboard manufacturer's website (e.g., MSI, Gigabyte, ASUS) to download the latest network drivers and chipset drivers for your exact model.
3. Advanced Network Troubleshooting Fixes
If the driver update doesn't solve connectivity issues, the problem may lie in corrupted network settings or cached data.
Method 1: Reset Network Settings
This feature resets all network adapters to their factory default settings, often clearing stubborn connection bugs.
1). Open Settings: Press Windows Key + I to open the Settings app.
2). Navigate to Network Reset: Go to "Network & Internet", scroll down, and click "Network reset".
3). Perform Reset: Click "Reset now". You will be warned that your PC will restart in 5 minutes.
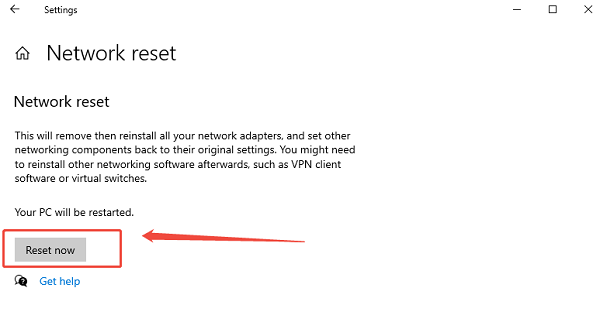
4). Check Connection: After the restart, you will need to re-enter your Wi-Fi password.
Method 2: Flush DNS and Reset IP
This clears out old, faulty network data stored on your PC and forces a fresh connection.
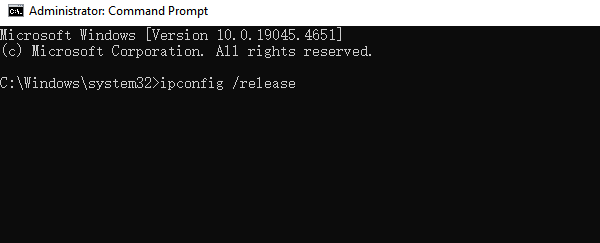
1). Open Command Prompt as Administrator: Click the Start button, type cmd, right-click on "Command Prompt", and select "Run as administrator".
2). Enter Commands Sequentially: Type the following commands, pressing Enter after each one:
ipconfig /release
ipconfig /flushdns
ipconfig /renew
netsh winsock reset
3). Restart: Restart your computer after running all four commands.
Conclusion
A stable internet connection starts with a stable driver. By prioritizing the update of your network drivers with Driver Talent X, and then using the official Windows or manufacturer methods as backup, you can effectively resolve connection issues and ensure maximum speed and reliability from your Windows 10 network adapter.
See also:
Solutions to Fix Monster Hunter Wilds Crashes
How to Fix Split Fiction Not Launching on Windows


