
While Windows 7 remains a beloved operating system, running it today exposes your system to severe security risks, as Microsoft officially ended support. Migrating from Windows 7 directly to Windows 11 is a significant jump, bypassing Windows 8 and 10.
While a direct, official "free upgrade" path is not advertised, it is possible through specific methods, but it requires careful preparation and execution. This guide outlines the essential steps to prepare your aging hardware and successfully transition from Windows 7 to the modern stability and security of Windows 11.
1. Preparation: Check Hardware Compatibility and Update Drivers
The biggest obstacle when moving from Windows 7 to Windows 11 is the strict hardware requirement list for the new OS (especially TPM 2.0 and Secure Boot).
Before you begin, you must ensure your system is as stable as possible and that your drivers are ready for the drastic OS change. Outdated drivers are the single biggest cause of installation failure and post-upgrade instability.
Driver Talent X is an efficient tool that automates the driver update process, making it the quickest and safest way to ensure your entire system is running the latest, compatible drivers before the complex Windows 11 installation begins.
Download and Install:
Click the "Download" button to download the software package.
Install it on your Windows 7 PC.
Scan Your System:
Launch the application. Go to "Drivers" > "Scan", click "Scan".
Driver Talent X will automatically perform a comprehensive scan, identifying all outdated drivers, with a specific focus on Chipset, Storage Controller (AHCI/RAID), and Network drivers.
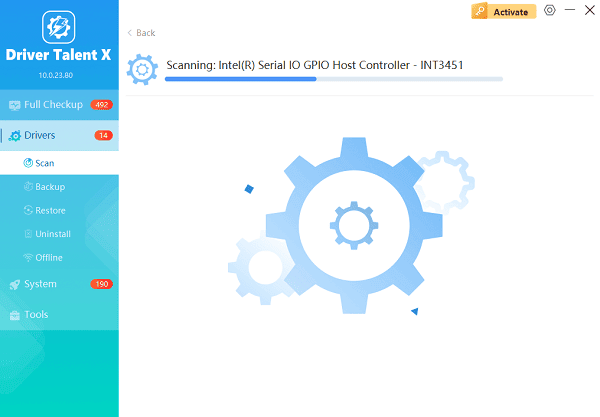
One-Click Update:
The results will show you a list of all drivers that need attention. Click the "Repair Now" button.
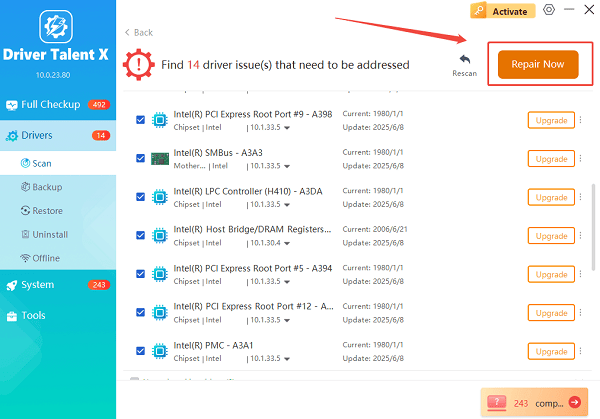
The tool will download and install the latest, verified versions, optimizing your system for the Windows 11 installation environment.
Restart Your PC:
Once the installation is finished, it is absolutely crucial to restart your computer.
Do not proceed to the Windows 11 upgrade until this critical step is complete.
Run PC Health Check:
Download and run the official Microsoft PC Health Check App.
This will tell you immediately if your CPU, TPM, and Secure Boot status meet the minimum requirements for Windows 11.
Enable TPM and Secure Boot:
If the check fails due to TPM or Secure Boot, you will need to enter your BIOS/UEFI settings (usually by pressing F2, F10, or Del during startup) and manually enable them, provided your motherboard supports them.
2. The Migration Method: Clean Install with Media Creation Tool
Due to the massive jump in operating system architecture, the most reliable way to move from Windows 7 to Windows 11 is by performing a clean installation. This will erase your old Windows 7 partition.
Backup All Data: CRITICAL STEP. A clean install deletes everything. Back up all your personal files, documents, and license keys to an external drive or cloud service.
Download Media Creation Tool: Go to the official Microsoft Windows 11 download page and download the Media Creation Tool.
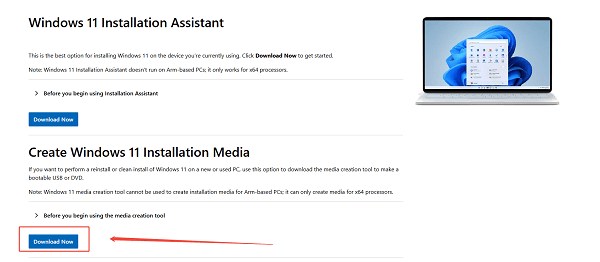
Create Installation Media: Run the tool and choose "Create installation media (USB flash drive, DVD, or ISO file)". Use an 8GB or larger USB drive.
Boot from USB: Restart your PC and press the key to enter the boot menu (F12, F10, or Del). Select your USB drive to boot from.
Perform Clean Install: Follow the Windows Setup screens. When prompted for installation type, choose "Custom: Install Windows only (advanced)".
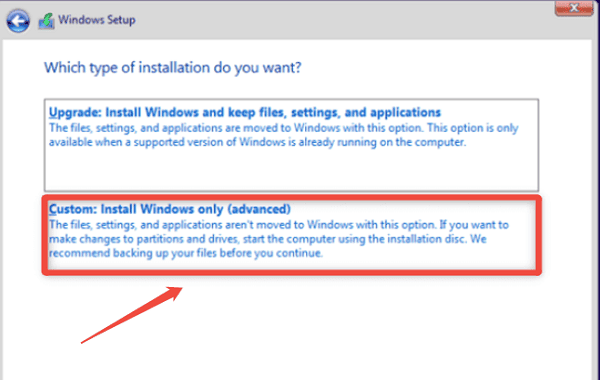
Format Drive: Select the partition where Windows 7 is currently installed (usually Drive 0, Partition 2) and click "Delete", then click the resulting "Unallocated Space", and click "Next".
Activate: When prompted for a product key, enter your Windows 7 product key (if you have one). In many cases, Windows 11 will still activate using a valid Windows 7 key upon connecting to Microsoft's servers.
3. Post-Installation Troubleshooting and Activation
If activation fails or you experience issues, these steps can help finalize the process.
Method 1: Use the Windows Activation Troubleshooter
If your system meets the minimum requirements but activation fails, you can use the built-in troubleshooter.
Go to Activation: Go to "Settings" > "System" > "Activation" (or "Update & Security" > "Activation").
Run Troubleshooter: Click "Troubleshoot".
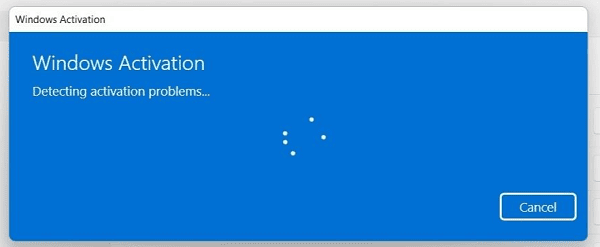
Recent Hardware Change: If you replaced any components, choose the option "I recently changed hardware on this device" and follow the prompts to link your Microsoft account license.
Method 2: Install Missing Drivers Manually
Some specific hardware might still require the latest Windows 11 driver.
Open Device Manager: Right-click the Start button and select "Device Manager".
Check for Missing Drivers: Look for any devices marked with a yellow exclamation mark (!).
Find Official Drivers: Search the hardware manufacturer's website (e.g., Realtek, Intel) for a specific Windows 11 driver for that component and install it manually.
Conclusion
Moving from Windows 7 to Windows 11 is a necessary leap for modern security and performance. By starting with the vital step of ensuring driver stability with Driver Talent X and confirming hardware compatibility, then executing a meticulous clean installation using the Media Creation Tool, you can successfully navigate this complex migration and enjoy a stable, modern computing environment.
See also:
Solutions to Fix Monster Hunter Wilds Crashes
How to Fix Split Fiction Not Launching on Windows


