Keeping your Lenovo device updated is essential for maintaining smooth performance, preventing hardware issues, and ensuring full compatibility with the latest Windows updates. Outdated drivers can lead to slow system performance, unresponsive peripherals, display glitches, or Wi-Fi problems. This guide walks you through the safest and most effective ways to install and update Lenovo drivers and software on Windows 11.
Method 1: Update Drivers Automatically Using Driver Talent X
Manual driver management can be time-consuming. Driver Talent X provides a simple and automated way to detect, download, and repair Lenovo driver issues.
Download Driver Talent X
Select the “Download” option to download the installer, and launch it afterward to install the program on your PC.
Run a System Scan
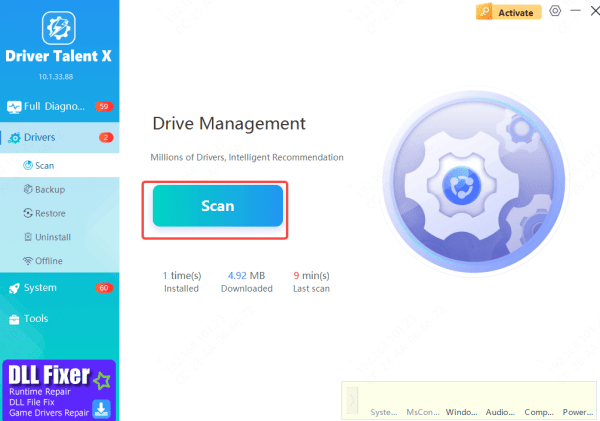
Open the app → Go to Drivers → Scan to analyze your hardware and detect outdated or corrupted drivers.

Update All Outdated Lenovo Drivers
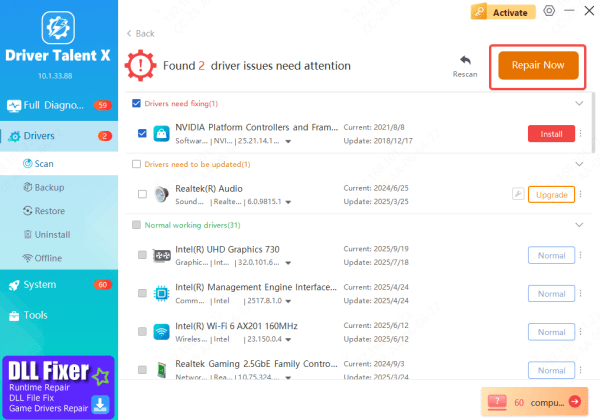
Click Upgrade or Repair Now to automatically install drivers updated versions.

Restart Your PC
Reboot your system to apply all driver repairs and improvements. This ensures Lenovo hardware components communicate correctly with Windows.
Method 2: Install Drivers from the Lenovo Support Website
The official Lenovo Support site is another reliable way to get certified drivers for your device.
Go to Lenovo Support
Visit Lenovo's support page and select PC → Laptops/Desktops
Enter Your Model or Serial Number
This will take you to the driver download page for your specific device
Download Essential Drivers
Common items include: Chipset Drivers, Graphics Drivers, Audio Drivers, Wi-Fi & LAN Drivers, and Touchpad Drivers
Install and Restart PC
Run each installer individually and restart your PC so the updates apply correctly.
.png)
Method 3: Update Drivers Automatically with Lenovo Vantage
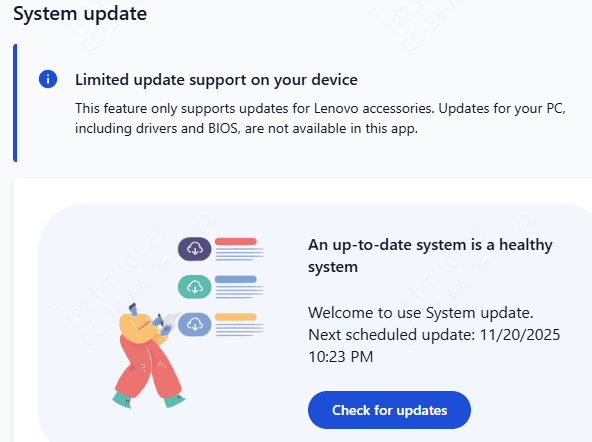
Lenovo Vantage is Lenovo's official optimization tool designed to manage updates automatically.
Download Lenovo Vantage from Microsoft Store
Install the application on your Windows 11 PC
Open Vantage: Run a full scan to detect outdated drivers and software.
Install All Recommended Updates
Restart your PC: This ensures all new updates apply correctly

Method 4: Update Drivers Using Windows Device Manager
Device Manager provides a basic method of updating individual drivers.
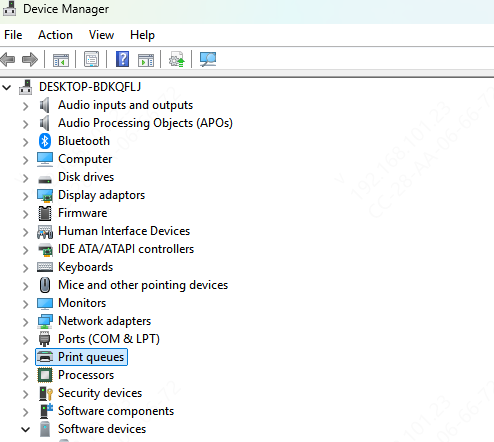
Right-click Start → Device Manager
Expand a device category (Display, Network, USB, etc.)
Right-click the device → Update driver
Select Search automatically for drivers
Device Manager often installs generic drivers that may reduce performance or compatibility.

Method 5: Windows Update Method
Windows Update provides a safe and straightforward way to install Lenovo drivers, helping ensure system stability and hardware compatibility.
Open Settings: Press Windows + I to launch the Settings menu
Navigate to Windows Update: Go to Update & Security to access update options
Install Optional Driver Updates: If available, click View optional updates to see a list of driver updates Select the drivers you want to install, then choose Download and Install to apply them

Conclusion
Updating Lenovo drivers and software is essential for ensuring your device runs reliably and performs at its best. With several methods available—from automated tools like Driver Talent X to Lenovo Vantage, the official Lenovo Support website, Device Manager, and Windows Update—you can choose the option that fits your needs. Keeping your chipset, graphics, network, audio, and system drivers current helps prevent errors, improves hardware stability, and ensures smoother compatibility with new Windows updates. By making driver maintenance a regular habit, you can extend the lifespan of your Lenovo laptop or desktop and enjoy a faster, more stable computing experience.


