How to Reinstall the Operating System on a Computer
Jul. 09, 2025 / Updated by Seraphina to Windows 11

An operating system is system software that manages computer hardware and software resources. It is one of the fundamental software components in a computer system, serving as an intermediary between computer hardware and users. The operating system provides a unified interface for users and applications, enabling them to interact with the computer and access hardware resources. Common operating systems include Windows, macOS, Linux, Unix, and others. Each operating system has its own specific features and advantages, suitable for different application scenarios and user needs.
Step 1: Back up Important Data
Before reinstalling the system, it is essential to back up all important files and data. This can be done by copying files to an external hard drive, using cloud storage services, or transferring them to another computer. Ensure that the backup data is complete and accessible to prevent loss during the reinstallation process.
Step 2: Download Installation Media
Obtain the installation media for the desired operating system. This can be a USB flash drive, DVD disc, or an ISO file downloaded from the official website of the operating system.
Step 3: Create Installation Media
If you have an ISO file, you need to use software such as Rufus (for Windows) or Disk Utility (for macOS) to create installation media. Follow the instructions provided by the software to create a bootable USB drive or DVD from the ISO file.
Step 4: Insert Installation Media
Insert the installation media (USB drive or DVD) into the computer's USB port or DVD drive.

Step 5: Set Boot Order
After inserting the installation disk or USB drive, you need to enter the BIOS interface and set the boot order to boot from the CD/DVD or USB. The method to enter the BIOS interface varies depending on the computer brand. You can enter it by pressing keys like F2, F12, or Delete.
Step 6: Boot from Installation Media
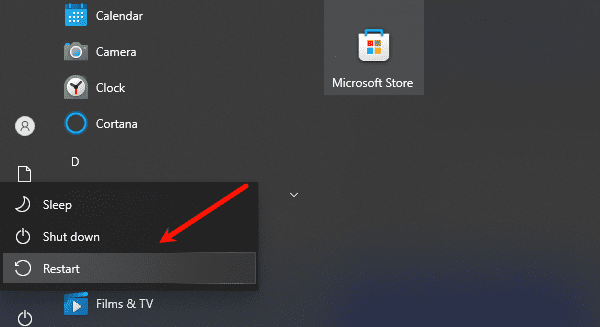
Restart the computer and enter the BIOS or UEFI settings. Usually, you can access these settings by pressing a specific key (usually F2, F10, or Del) during startup. Once in the BIOS or UEFI settings, change the boot order to prioritize using the installation media (USB or DVD drive). Save changes and exit the BIOS or UEFI settings.
Step 7: Install the Operating System
Restart the computer again. The computer should now boot from the installation media. Follow the on-screen instructions to begin the installation process. You will be prompted to select language, timezone, keyboard layout, etc. Then, choose the option to install the operating system.

Step 8: Hard Drive Partitioning
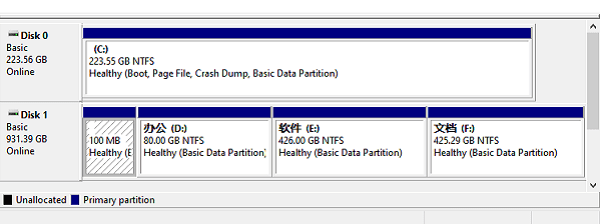
During the installation process, a window for hard drive partitioning will appear. You can choose the default partitioning method or manually partition according to your needs. Different partitioning methods have certain impacts on system performance and data security, so choose carefully.

Step 9: Format the Hard Drive
During the installation process, you will reach a step where you need to select the installation destination. Here, you will have the opportunity to format the hard drive. Formatting will erase all data on the drive, so make sure to back up all necessary files before proceeding. Select the drive where you want to install the operating system and continue with the formatting process.
Step 10: System Installation
After completing the hard drive formatting, you need to choose the operating system version to install and click the "Next" button to begin the installation. During the installation process, you need to read and agree to various agreements, then wait for the system to install automatically.

Step 11: Install Drivers
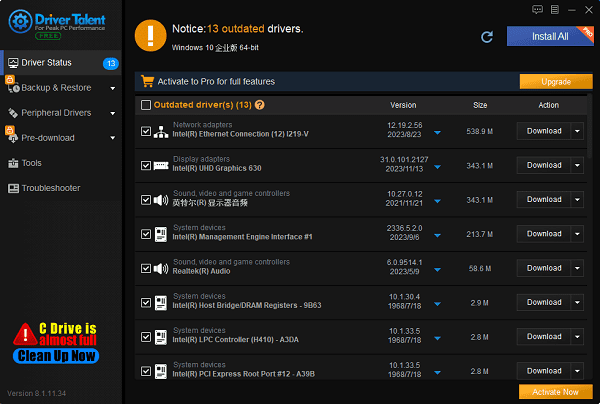
After the system installation is complete, you need to install the corresponding drivers. Drivers act as bridges between hardware devices and the operating system. Without the correct drivers, many hardware devices may not work properly.
You can quickly detect computer hardware drivers and install corresponding drivers in batches using "Driver Talent".

Alternatively, you can download and install drivers from the manufacturer's website.
Step 12: Update System and Software
After installing drivers, you need to update the operating system and software to the latest versions. Updating the operating system can fix known vulnerabilities and issues, improving system stability and security.
Step 13: Restore Data
The final step is to restore the files and data backed up earlier to the computer. You can copy the backup data to the specified folder or use the system's built-in file recovery tool.
Step 14: Completion of Setup
Once everything is restored and configured, complete the setup of the computer, including setting up user accounts, configuring preference settings, and installing other software or applications.
These are the steps for reinstalling the operating system on a computer. If you encounter driver-related issues with network cards, graphics cards, Bluetooth, sound cards, etc., you can use "Driver Talent" to detect and repair them. Additionally, "Driver Talent" supports driver downloads, installations, backups, etc., providing flexible driver management.
See also:
Senua's Saga: Hellblade II Game Configuration Introduction
Introduction: Computer NPU, CPU, and GPU
Driver Introduction and Tutorial for Updating Motherboard Drivers
How do I setup my sound driver and troubleshoot audio driver issues

|
ExplorerMax |

|
Driver Talent for Network Card | |
| Smart and advanced file explorer tool for Windows platforms | Download & Install Network Drivers without Internet Connection | |||
| 30-day Free Trial | Free Download |


