If you are experiencing inaccessible external USB 3.0 HDD after Windows 10 Update (Creators Update/Fall Creators Update 1709/Spring Creators Update 1803), you are not the single one. Normal case is that when plugging in an external USB 3.0 hard drive after upgrade to Windows 10 Update, nothing showing up, Windows can’t recognize it. And Disk Management shows it Healthy (Active, Primary Partition), but RAW file system next to the external hard drive is not NTFS as it is supposed to be. Have a try with the following methods to make the external USB 3.0 HDD accessible again.
Method 1. Run Hardware Troubleshooter to Fix Inaccessible External USB 3.0 HDD after Windows 10 Update
Microsoft has the built-in troubleshooter program. Say hardware troubleshooter, an automatic tool which can check the hardware installed on your computer for some unknown glitches and fix these errors. Below is how to use troubleshooter to fix inaccessible external USB 3.0 HDD.
1.Press shortcut key Win + X and then select Control panel.
2.Type Troubleshooting in the search bar and then hit Enter.
3.Click on View All on the left pane under the Troubleshooting window.
4.Click on Hardware and Devices.
5.Click on Advanced and then select Run as Administrator.
6.Click Next and then follow the on-screen instructions to complete the troubleshooting process.
Method 2. Enter Safe Mode to Resolve External USB 3.0 HDD’s not Accessible Issue
Safe mode can be helpful for troubleshooting problems with programs and drivers that might not start correctly or that might prevent Windows from starting correctly. Safe mode starts Windows with a limited set of files and drivers.
Below steps is how.
2.Press Win + R to open the Run dialog.
3.Type msconfig and then hit Enter.
4.Click on the Services tab, and check the Hide all Microsoft services check box, and then go to Disable all.
5.Click the Startup tab and click Open Task Manager.
6.Select each startup item and then click Disable.
7.Click OK and then reboot your PC.
Note: To exit from safe mode, restart your computer and let the Windows start normally.
Method 3. Update Your USB 3.0 Drivers for Windows 10
To a large extent, inaccessible external USB 3.0 HDD error after Windows 10 could be sorted to USB driver issues. Any outdated, broken, or faulty USB 3.0 drivers could result in external USB 3.0 HDD not recognized situation.
There are two primary channels to update your USB 3.0 drivers, downloading the latest USB 3.0 drivers from your USB manufacturer website or choosing an automatic USB 3.0 driver update utility to update them.
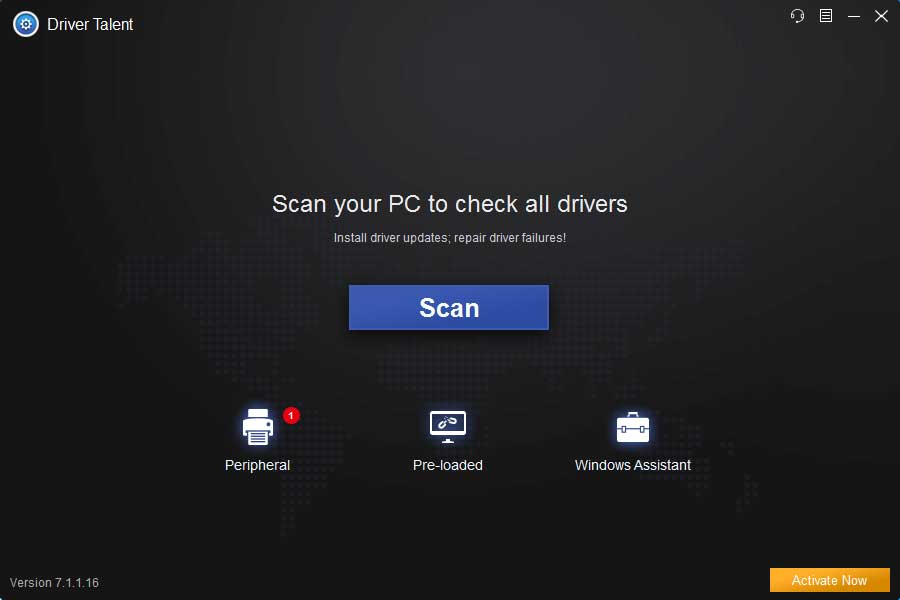
To save your time from searching for the correct USB 3.0 drivers on the Internet to manually downloading and installing them, we recommend you use a professional USB 3.0 driver update utility, such as Driver Talent, which can help to download and update you the compatible external USB 3.0 drivers with a few clicks.
Click below button to get Driver Talent directly.
Take the following guide to update USB 3.0 drivers.
1.Click “Scan” to identify the problematic USB 3.0 drivers for Windows 10 after launching Driver Talent.
2.All the outdated, corrupt or broken drivers will be listed after scan, you can click “Repair” to fix them or click “Update” to download and install the most updated USB 3.0 drivers.
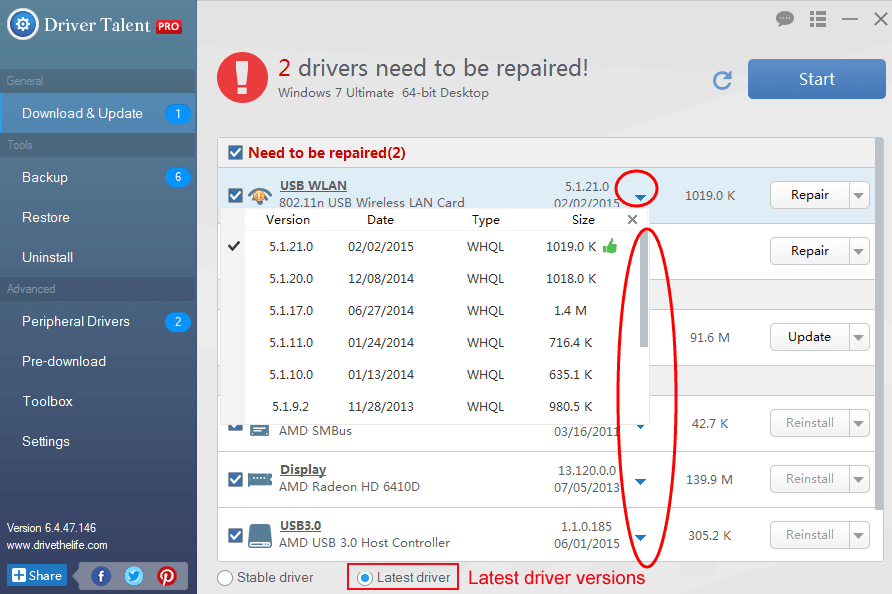
Note:It is recommended that you don’t update what aren’t broken.
3.Restart your computer to make the latest installed USB 3.0 drivers come into effect.
Note: To avoid driver conflicts or driver crashes, it is recommended to back up drivers with Driver Talent before installing new USB 3.0 drivers.
Method 4. Perform Check Disk to Repair Inaccessible External USB 3.0 HDD
If the external USB 3.0 HDD still inaccessible after all these efforts, you may need to perform Check Disk to repair it. Do as the following guides.
1. Press Win+ X and then choose Command Prompt (Admin).
2. Type the CHKDSK X: /F command (Replace the X with the drive you wish to scan, for example : CHKDSK C: /F).
3. Hit the Enter key, Command Prompt will now start CHKDSK.
You may also like to check out:
How to Troubleshoot “This Device Cannot Start. (Code 10)” – USB Device Error Code 10
USB Type-C Drivers Download and Update for Windows OS
If you get something new which can fix the inaccessible external USB 3.0 HDD error after Windows 10 Update, please make sure to share with us by leaving us comments below.


