Various Windows 10 WiFi problems keep springing up after the Creators Update or Windows 10 Fall Creators Update, such as no network available, weak WiFi signal, WiFi won’t connect automatically, Windows 10 no WiFi, undentified network, slow internet, unable to connect to any WiFi connection, Windows 10 keeps searching for WiFi etc.. Here in this post, we introduce several workable tips to resolve weak WiFi signal issue after installing the Windows 10 Creators Update. Let’s check them out.
What Weakens the WiFi Signal after Windows 10 Creator Update
The factors that lead to the weak WiFi signal problem on Windows 10 Creators Update or WiFi not present bug can be multiple, from the hardware problem to the drive issues, like network configuration, wireless network card drivers or wireless router issue, etc..
Read Also: Fix 802.11n WLAN/WiFi Adapter Not Working on Windows 10
How to Fix Weak WiFi Signal after the Windows 10 Creators Update
To repair that Windows 10 slow internet problem after Creators Update/Fall Creators Update and get your network back to normal performance, you should try the tricks below successively till the limited Internet speed error fixed.
Method 1. Update the Network Card Driver to Fix Windows 10 Weak WiFi Signal after Creator Update
The WiFi signal drops significantly malfunction after upgrading to Windows 10 CU, like 802.11n wireless lan card not working, no WiFi available, and other network issues, can be triggered by the outdated or incompatible network card driver. To rule out that possibility, you should update it to match the updated Windows OS. You could visit the website of your device manufacturer to check for any available updated drivers. Or you can count on a driver issue troubleshooter, like Driver Talent, to figure out the wireless network driver issues. It can help to download and install the official and WHQL network adapter drivers for Windows 10.
Click the button above to grab it and follow the troubleshooting steps below to fix the Windows V1703 or V1709 weaker WiFi signal than previous Windows OS glitch:
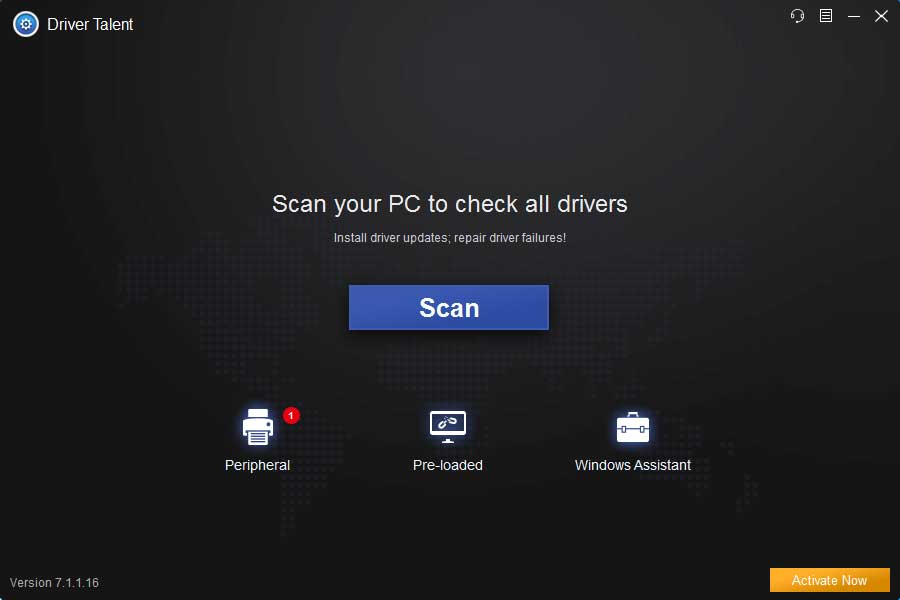
Step 1. Click Scan to detect the problematic network drivers on Windows 10 Creators Update.
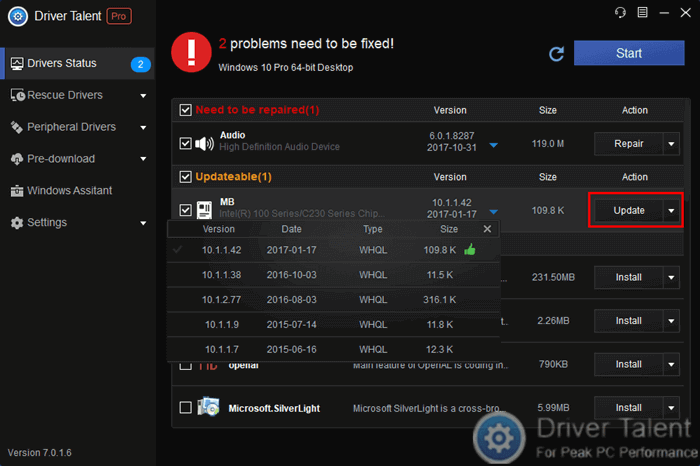
Step 2. Click Update to download and install the best-matched drivers or Repair to fix the faulty network driver that lags the Internet speed.
Step 3. Restart your computer to make the newly installed drivers take effect.
Method 2. Disable "Receive segment coalescing" (Rsc) on Your Wireless Adapter
It has been proved effective by many Windows 10 Creators Update users who suffered slow WiFi speed that disabling the Receive segment coalescing (Rsc) with an excellent tool, provided by Microsoft support team, can clear up the dropping WiFi connections issue. Below are the detailed steps.
Step 1. Click here to download the ".diagcab" file.
Step 2. Run it, and let it see if it can determine the problem and fix it.
Step 3. Re-test your wireless internet connection to check whether the WiFi speed back to normal.
Method 3. Change the MTU to Resolve Weak WiFi Range on Windows 10 Creators Update
According to some users, the default MTU could be the culprit that results in the decreased WiFi range when it is 1500 by default. To check the configuration of your MTU and modify it to the value which your network operates normally with no weak wireless network speed, follow below steps.
Step 1. Type cmd in the Search Windows to launch Command Prompt (Admin).
Step 2. Type the following command and then hit Enter:
netsh interface ipv4 show subinterfaces
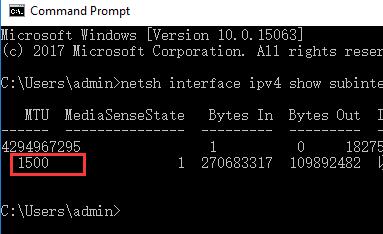
Step 3. Mark down your wireless name, it might be "Wi-Fi" or "Wireless Network Connection".
Step 4. Close the Command Prompt and then open it again.
Step 5. Type the command below to change MTU to 1400 this time:
netsh interface ipv4 set subinterface "YOUR_WIRELESS_CONNECTION_NAME" mtu=1400 store=persistent
Step 6. Exit the Command Prompt.
You can use the 1-2 steps above to ensure the change after that adjust. Then test this you ping and network speed to see if the strong Wi-Fi signal back to Windows 10 CU!
Method 4. Ran Netsh Winsock Reset to Fix Slow WiFi Strength on Windows 10 Creators Update
To get rid of the frustrating weak WiFi range/signal bars, you can use the command lines to reset the IP and speed up the slow network strength on the computer:
Step 1. Right click on the Start button.
Step 2. Choose the Command Prompt (Admin).
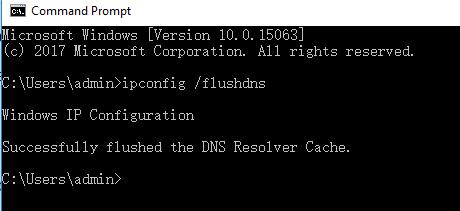
Step 3. Type into the command line below to clean the DNS and then hit the Enter key:
ipconfig /flushdns
Step 4. Type the following command to reset the Winsock directory and hit Enter:
netsh winsock reset catalog
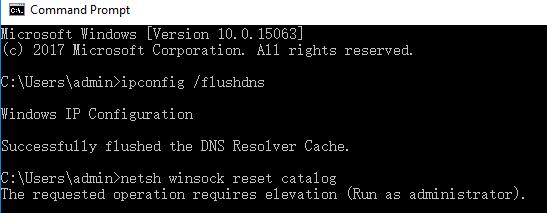
Step 5. Type netsh int ip reset into the command to reset the IP and hit Enter.
Then try connecting your wireless network again to check if the WiFi network speed and signal back to normal on your Windows 10 Creators Update computer.
Hope this post can be a reference for you to resolve weak WiFi signal issues after Windows 10 Creators Update and enjoy a fluent Internet speed. If you have more workarounds on fixing Windows 10 WiFi connectivity problems, please share with us in the comment section below or go to the OStoto official forum for further discussion.


