Fix Stuck "Scanning and Repairing Drive" in Windows 10
Jun. 23, 2022 / Updated by Daphne to Windows 10
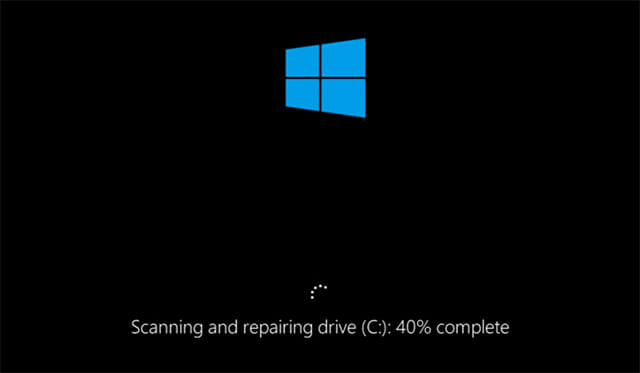
How to fix the “scanning and repairing drive”issue in Windows 10? You may often get some big surprises each time after a Windows 10 update. This time your computer is stuck at scanning and repairing drive C: or D: screen when you boot into the system. You know it is the Check Disk, but it seems that the scanning will never complete and just stops at different percent number. Restarting again, you get another "scanning and repairing drive" loop. Now you are unable to enter Windows 10. What a surprise you get in such a morning of weekday!
Today, let’s have a close look at how to fix the stuck “scanning and repairing drive” in Windows 10.
Why There Is a Scanning and Repairing Drive on Booting
Scanning and repairing drive on booting is a process of self-test. The main reasons why there is a scanning and repairing drive on booting are:
1. You didn’t turn off the computer in a correct way (e.g. a contrived or happened power cut-off), which will generate corrupted system files.
2. There are bad sectors on the hard disk.
3. Your computer is infected with virus that will modify the registry.
4. Incorrectly configured drivers, for example, faulty NVidia graphics driver.
5. Other reasons.
If the “scanning and repairing drive” halts at 18%, 56% or other percent number for a long time and never boot into the desktop, you can read the following contents for solutions.
How to Fix the Stuck Scanning and Repairing Drive and Boot into Windows 10
Firstly, you can try the steps below to enter Windows or safe mode. Then you need to check and repair disk errors or disable the “scanning and repairing drive” on booting.
Solution 1: Check the drive status through windows and repair
The first step to find that the drive is faulty requires us to check the status of the drive. Windows will detect it and allow you to scan and repair it.
1. Search Control Panel and open it.

2. Select small icon.
3. Click Security and Maintenance.

4. Click Maintenance.

4. Under Drive Status, you may see the issues listed here and a link that allows you to click to repair the drive.

Solution 2: Check Disk and Disable Scanning and Repairing Drive on Booting
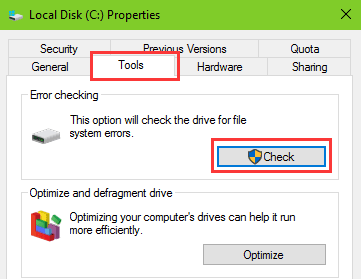
1. Use Windows shortcut keysWin + E to launch File Explorer. Right click on the Local disk (C:, D:, E:, etc.) and select Properties.
2. Choose Tools tab and click on Check.
3. Click Scan drive to start the scanning. When it finishes, Error Checking box may pops up. Click Scan and repair drive and follow the on-screen instructions to repair errors. If no errors were found, just close the box.
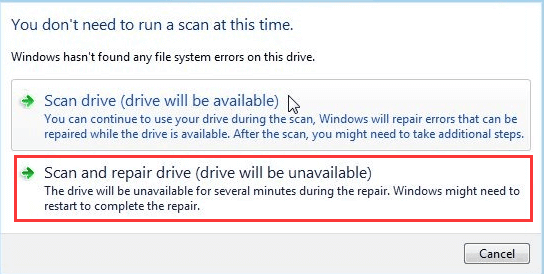
Make sure each drive is scanned and the errors are repaired.
Read More:How to Fix 100% Disk Usage after Windows 10 Upgrade
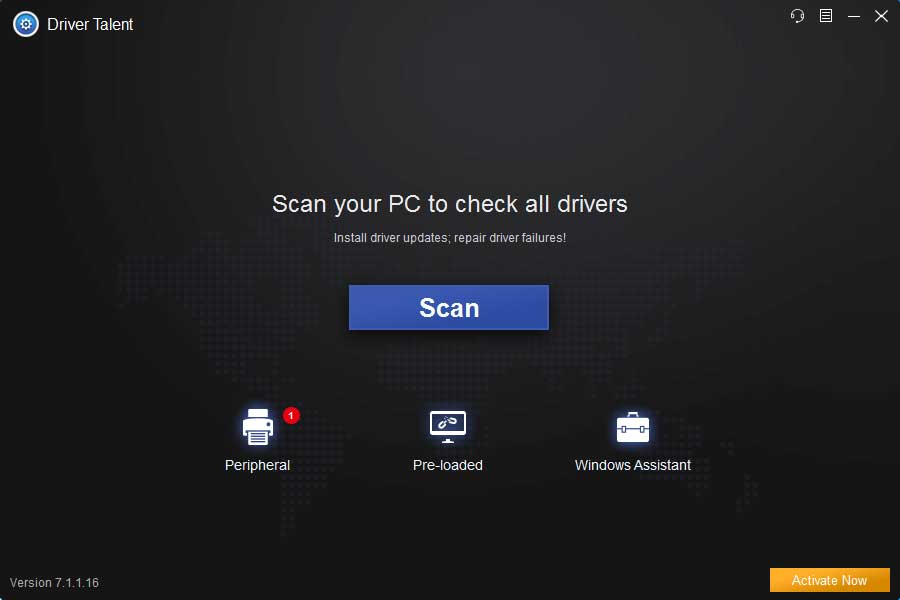
Next, launch Driver Talent and follow the steps below to scan and repair faulty drivers on your computer. (Note: Driver Talent is the leading driver updater and manager for windows 10. If you don’t have it on your computer, click the button below to get it directly.)
1. Click Scan to detect all the faulty drivers, including problematic NVidia graphics driver.
2. Click Repair to fix broken or corrupted drivers.
3. Click Later if it notices you to restart after the repairing.
Finally, you also need to run your anti-virus software to clean up malware or virus on your computer.
Solution 3: Enter Windows 10 or the Safe Mode
Enter Windows 10
To enter the desktop, hold down the power button for several seconds and reboot the machine. Repeat this a few times until there appears the message "press any key to bypass the chkdsk" on the screen. Then press any key to skip the scan and enter your password to log in Windows 10.
Read More:How to Fix Lock Screen Ask for Password Twice in Windows 10
Enter the Safe Mode
If this does not help, continue pressing and holding the power button to shut down. Repeat this over 3 times until you see the Recovery screen. Then click on the button See advanced repair options >Troubleshoot >Advanced options >Windows Startup Settings >Restart. Press F4/F5 to Enter Safe Mode (with Networking).
After entering the desktop, you need to check each disk on your computer to see if there are disk errors. If not, you can disable the annoying “scanning and repairing drive” CHKDSK on booting.
Disable CHKDSK on Booting
If there are no errors with the disk drive, but the “scanning and repairing drive” loop keeps annoying you, then you can modify the registry and disable the CHKDSK self-test on booting.
1. Use Windows shortcut keys Win + R to launch Run. Then type into regedit and hit Enter.
2. Follow the path below and expand the entries. Then Navigate to BootExecute on the right column.
HKEY_LOCAL_MACHINE\SYSTEM\CurrentControlSet\Control\Session Manager
3. Double click BootExecute The default value is autocheck autochk * and now replace it with autocheck autochk /k:C *. Click OK.

Note: It is better to back up your registry in case serious system issues occur suddenly, such as slow boot, 0x0000003B System_Service_Exception error, ghost touch screen, etc.
Hope this help you fix the stuck "scanning and repairing drive" in Windows 10 booting, and make your PC work properly again. If you have any questions on this topic, comment below please or click the LEFT MENU on this page for more technical support. If you have other Windows 10-related issues, you can check for solutions in Windows 10 Issues and Fix section.
Related Posts:
Fix Random/Auto Reboot after Windows 10 Fall Creators Update
Top 3 Ways to Fix Endless Reboot Loop after Windows 10 Update
How to Fix Windows 10 Startup Issue Caused by Driver Failure
How to Enter Safe Mode to Fix Windows 10 Boot Loop/Blue Screen/Black Screen
Top 4 Fixes for Windows 10 Boot Loop after Fall Creators Update Problem

|
ExplorerMax |

|
Driver Talent for Network Card | |
| Smart and advanced file explorer tool for Windows platforms | Download & Install Network Drivers without Internet Connection | |||
| 30-day Free Trial | Free Download |


