There are a lot of reasons why there are horizontal or vertical lines on the computer screen display in Windows 10. To solve the horizontal or vertical lines across your desktop or laptop screen issue, you may need to find out what cause the problem.
Why Horizontal or Vertical Lines on Computer Screen Display in Windows 10
The horizontal or vertical lines on the computer screen may be caused by various issues, ranging from outdated graphics card drivers, incorrect video cable connections to defective ribbon cables. You could enter the BIOS settings to determine whether it is a software-related or hardware-related problem.
Since BIOS is not a part of the Windows 10 operating system, if you still see horizontal or vertical lines on the computer screen, it indicates that it is software-related. If you see no horizontal or vertical lines on your computer display in Windows 10, it tells that it is related to the hardware.
How to Fix Horizontal or Vertical Lines on PC/Laptop Screen Display in Windows 10
There are six recommended methods to fix horizontal or vertical lines on the computer screen in Windows 10, applied to any screen like Dell, Samsung, HP, Lenovo, LG, Acer, etc..
Method 1: Reconnect the Video Cable
If you notice horizontal or vertical lines on the computer screen in Windows 10, it may be caused by the incorrect video cable connection. You can try to reconnect the video cable to the screen and then check whether the horizontal or vertical lines are gone.
Method 2: Replace the Ribbon Cable
If your ribbon cable is defective, the horizontal or vertical lines will show on the computer screen in Windows 10. You could replace the ribbon cable with a new one of the same connection type to check whether the horizontal or vertical lines still exist on your computer screen.
Method 3: Update Your Graphics Card Driver
Once it is proved that the horizontal or vertical lines on the computer screen in Windows 10 are software-related, the most possible culprit is the outdated graphics card driver. You shall upgrade it to the latest version to solve the driver compatibility problem. To do this, you can update the Display driver from Device Manager manually and check if it helps, which will take a long period of time.
Step 1. Press (Windows key + X) and click on "Device Manager".
Step 2. Expand "Display Adaptor".
Step 3. Right click on the video driver and select "Update Driver". Once this is done, restart the computer and check if the issue persists.
Alternatively, you can try the easiest method to adopt a professional driver download and update utility, such as Driver Talent, well-known as the safest and fastest way to update drivers, which can help to find out the outdated graphics card driver in seconds and then automatically download and install the latest version in 2 minutes.
See Also:Tips to Fix and Update your Windows Drivers with Driver Talent
Click the button below to free download Driver Talent directly.
Method 4: Download the Latest Graphics Card Driver with Driver Talent
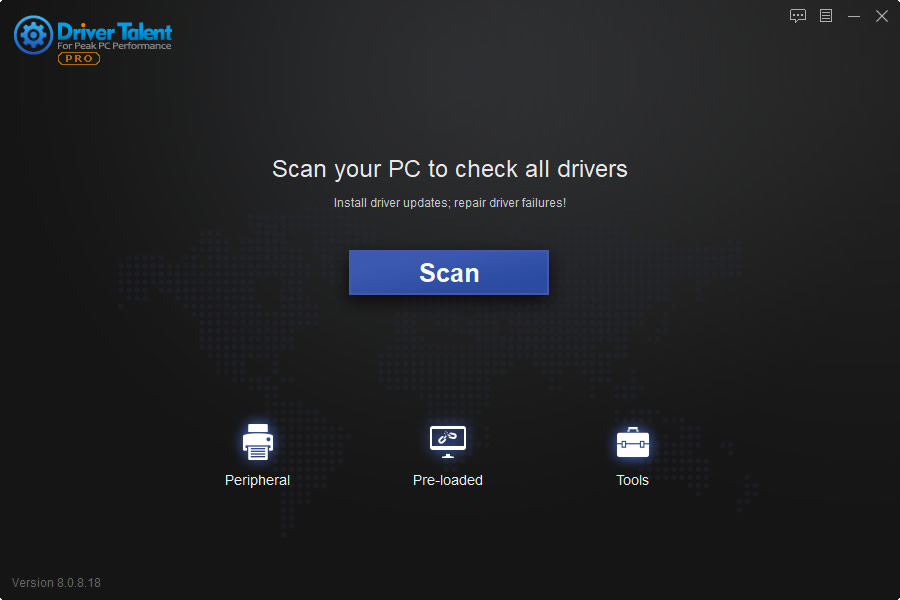
Step 1. Scan Your PC
Start Driver Talent. Click the "Scan" button to make a full scan of your PC. All your outdated, corrupt, broken or missing hardware drivers will be identified instantly.
Step 2. Update Graphics Card Driver for Windows 10
You could one-click "Update" to update your graphics card driver to the latest version.

Step 3. Reboot Your PC
Perform a reboot of your PC to make your new graphics card driver come into effect.
Note: Bear in mind that back up you drivers with Driver Talent prior to any driver updates in case of driver crashes.
Besides, Driver Talent is also packed with far more premium features, such as drivers restore, drivers uninstall, system restore, drivers pre-download for another PC, PC Repair (no sound, no video, no Wi-Fi, etc.), hardware detection, VR support check and PC speed up, etc..
Method 5: Adjust Your Screen Resolution Settings
Incorrect screen resolution settings can also result in the horizontal or vertical lines on the computer screen in Windows 10. To get rid of the horizontal or vertical lines across your display, you need to adjust the screen resolution settings. Follow these steps:
Step 1. Go to your desktop screen and right-click on the empty place.
Step 2. Click "Display Settings".
Step 3. The "Settings"window will open. Select "Scale and layout"at the middle of the screen.

Step 4. A lot of screen resolutions will be available to you. Set the resolution drop-down menu to the setting that has the (Recommended) text next to it and click OK.
Method 6: Run DISM Scan to Check and Restore System File Corruption
Step 1. Search"command prompt" by pressing Windows key + X and selecting "Search".
Step 2. In command prompt, copy and paste the following commands and press Enter after each command:
DISM.exe /Online /Cleanup-image /Scanhealth
DISM.exe /Online /Cleanup-image /Restorehealth
Step 3. Close the command prompt and restart the PC to check if it works
For any other Windows 10-related issues, such as black screen, no Wi-Fi available, stuck in a reboot loop and more, welcome to check out the Windows 10 Issues and Fix section.
See Also:Common Display/Graphics Problems and Solutions for Windows 10 Fall Creators Update
If you know other troubleshooting methods to fix the horizontal or vertical lines on the computer screen issue in Windows 10, please share with us in the comment section below.


