2 Ways to Fix UEFI Boot in Windows 10, 8.1, 8, 7
Jun. 23, 2022 / Updated by Bessie Shaw to Windows Driver Solutions
Receiving the UEFI boot problem on your Windows PC? Don't panic. This article will introduce how to fix the UEFI boot error in Windows 10, Windows 8.1, Windows 8 and Windows 7.
See Also: Free Windows 10 Update - How to Successfully Update to Windows 10
Fix UEFI Boot in Windows 10/8.1/8
UEFI (EFI) is the abbreviation of Unified Extensible Firmware Interface, which is an updated version of BIOS. Nowadays, major brand computers are shipped with UEFI/EFI instead of BIOS. The UEFI/EFI brings improved security measures, faster startup times, support for disks larger than 2.2 TB and lot more. A broken UEFI means that you have a broken bootloader, so that you can’t reboot your computer normally, and you could use diskpart or automatic repair to fix the UEFI boot error in Windows 10, Windows 8.1 or 8.
1.Use Diskpart to Fix UEFI Boot in Windows 10/8.1/8
Step 1. Insert the Windows 10/8.1/8 installation disk or installation USB and boot from the disk or USB
Step 2. Click Repair your computer or hit F8 at the Install now screen
Step 3. Click Troubleshoot >Advanced options >Command Prompt
Step 4. Type the following commands one by one and hit Enter:
diskpart
DISKPART>
sel disk 0
Step 5. Once the message "Disk 0 is now the selected disk" appears, type list vol and hit Enter
Step 6. Diskpart will now show the full list of volumes on your PC, find the UEFI volume from the list
Note: The UEFI partition will be on Volume 2.
Step 7. Type below commands and hit Enter:
sel vol 2
assign letter=G:
Note: G: shall be a unique drive letter which cannot be already used.
Step 8. When the message "DiskPart successfully assigned the drive letter or mount point" shows up, type below commands and hit Enter:
exit
cd /d G:\EFI\Microsoft\Boot\
cd /d G:\Boot\ or cd /d G:\ESD\Windows\EFI\Microsoft\Boot\
Note: G: is the drive letter you’ve assigned to your UEFI partition. Remember to replace "G” with UEFI’s partition letter.
Step 9. Type the following commands and hit Enter:
bootrec /fixboot
ren BCD BCD.bak
bcdboot C:\Windows /l en-us /s x: /f ALL
Note: C:\ is the drive where Windows 10/8.1/8 is installed on.
Step 10. You can also run: bootrec /rebuildbcd and hit Enter
Step 11. Type: exit in Command Prompt and restart your computer
Now the UEFI boot in Windows 10/8.1/8 problem has been fixed and you can boot your computer again.
2.Run Automatic Repair to Fix UEFI Boot in Windows 10/8.1/8
Another effective solution to fix the UEFI BOOT bug in Windows 10, Windows 8.1 or Windows 8.1 is using the built-in Automatic Repair utility, which could fix errors with the UEFI bootloader of your computer. Follow these steps:
Step 1. Insert the Windows 10/8.1/8 installation disk or installation USB, restart your computer and then boot from the disk or USB
Step 2. Click Repair your computer at the Install now screen
Step 3. Click Troubleshoot at Choose an option screen and click Automatic Repair
Step 4. Choose an account from the list to continue at the Automatic Repair screen
Step 5. Wait for the automatic repair process to complete
See Also: Top 6 Ways to Fix Automatic Repair Couldn’t Repair Your PC
Fix UEFI Boot in Windows 7 Using Bootrec/Bootsect
If you come across the UEFI boot problem in Windows 7, you could use Bootrec or Bootsect to tackle the issue. Please make sure that the UEFI/EFI load is set as active and in Legacy mode before you fix the UEFI bootloader in Windows 7. Follow these steps to run UEFI/EFI as Legacy.
Step 1. Restart your PC
Step 2. Open UEFI/EFI by pressing F2, F8, F12, Delete or Esc. The key depends on your PC brand.
Step 3. Search Secure Boot
Step 4. Disable or turn off Secure Boot
Step 5. Save settings and exit the UEFI/EFI setup menu
1.Use Bootrec to Fix Windows 7 UEFI
To use the Bootrec tool and fix the UEFI boot error in Windows 7, do the following steps:
Step 1. Insert the Windows 7 installation CD/DVD and boot from it
Step 2. Select language, keyboard and click Next
Step 3. Select the operating list (Windows 7) and click Next
Step 4. Click Command Prompt at System Recovery Options screen
Step 5. Type the following commands one by one and hit Enter:
bootrec /fixmbr
bootrec /fixboot
bootrec /ScanOs
bootrec /rebuildBcd
Step 6. Remove the installation CD/DVD, type: exit and hit Enter
Step 7. Restart your computer.
2. USe Bootsect to Fix Windows 7 UEFI
Follow these steps to use Bootsect to fix the UEFI boot problem in Windows 7.
Step 1. Insert the Windows 7 installation CD/DVD and boot from it
Step 2. Select language, keyboard and click Next
Step 3. Select the operating list (Windows 7) and click Next
Step 4. Click Command Prompt at System Recovery Options screen
Step 5. Type: bootsect /nt60 SYS /mbr and hit Enter
Step 6. Remove Windows 7 installtion CD/DVD, type: exit and hit Enter
Step 7. Restart your computer
Driver Download and Update for Windows 10/8.1/8/7
Outdated, corrupt, broken or missing drivers could result in various Windows issues, such as no Wi-Fi, no sound, screen flickering, blue screen, USB device not recognized, etc. It is very important to keep drivers updated on your Windows 10, Windows 8.1, Windows 8 or Windows 7 computer. It’s complicated to manually download drivers, to save time and frustration, it’s highly recommended to use a dedicated and reputable driver download and update utility tool like Driver Talent, which could list all your Windows drivers in seconds then automatically repair or update them within minutes.
Click the button below to grab Driver Talent directly.
Perform the step-by-step guide to use Driver Talent to download and update Windows drivers for Windows 10, Windows 8.1, Windows 8 and Windows 7. For more information, you could also refer to the User Guide of Driver Talent.
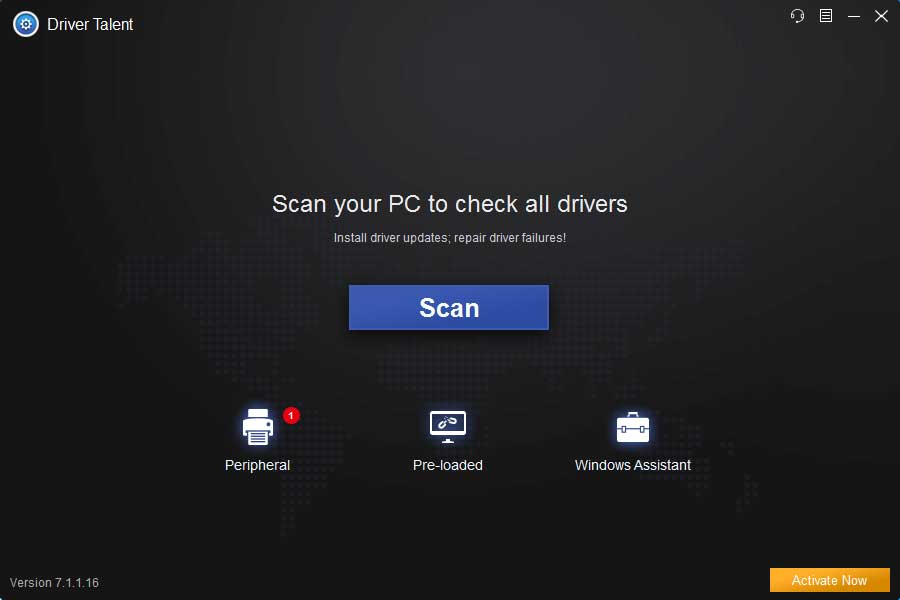
1. Scan Your PC
Launch Driver Talent. Click the “Scan” button to detect all your faulty Windows drivers.
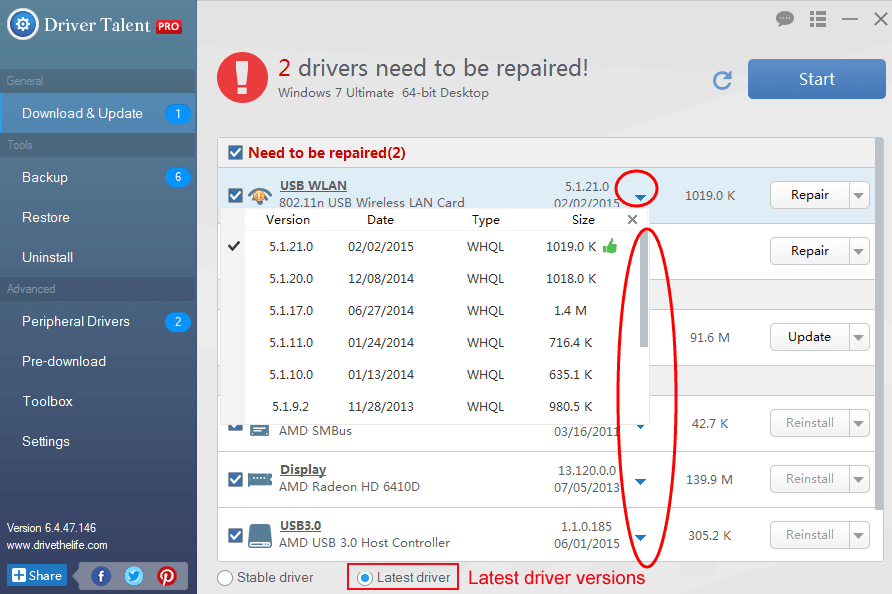
2. Repair or Update Windows Drivers
Click “Repair” to fix the detected Windows driver issues. Driver Talent will automatically download and install the most compatible drivers for your PC. Of course, you have the option to click “Update” to update all your drivers to the latest version. But don’t update what ain’t broken for stability purpose.
3. Reboot Your PC
Reboot your PC to make the Windows drivers update take effect.
Note: Bear in mind that use Driver Talent to back up you drivers before updating your Windows drivers in case of driver crashes or other serious computer issues.
In addition to Windows drivers download and update, Driver Talent includes other advanced features, such as drivers restore, drivers uninstall, drivers pre-download for another PC, PC Repair (no sound, no video, no Wi-Fi etc.), hardware detection, VR support check and PC speed up, etc.
If you have any inquiry about fixing the UEFI boot error in Windows 10, Window 8.1, Windows 8 or Windows 7, please comment below.
Related Posts:
Fix Random/Auto Reboot after Windows 10 Fall Creators Update
Top 3 Ways to Fix Endless Reboot Loop after Windows 10 Update
How to Fix Windows 10 Startup Issue Caused by Driver Failure
How to Enter Safe Mode to Fix Windows 10 Boot Loop/Blue Screen/Black Screen
Top 4 Fixes for Windows 10 Boot Loop after Fall Creators Update Problem

|
ExplorerMax |

|
Driver Talent for Network Card | |
| Smart and advanced file explorer tool for Windows platforms | Download & Install Network Drivers without Internet Connection | |||
| 30-day Free Trial | Free Download |


